Marker Calibration Workflow
When working with 3D mapping a useful workflow is the so called “marker calibration”. This feature differentiates quite heavily from normal mapping and warping workflows.
Pixera calculates the projectors placement in the 3D space by comparing user - created markers in the 3D preview with markers being projected on the 3D model. Through alignment of the markers the projector's position is calculated.
As soon as the projector and 3D model positions align perfectly there is no need for further warping. Of course, this implies that the 3D model is accurate. Without an accurate 3D model and accurate projector settings (no keyframe, throw ration e.g.) a proper marker calibration wont the possible.
3D Model & UV Map
To start, we import our 3D model into the Screens tab: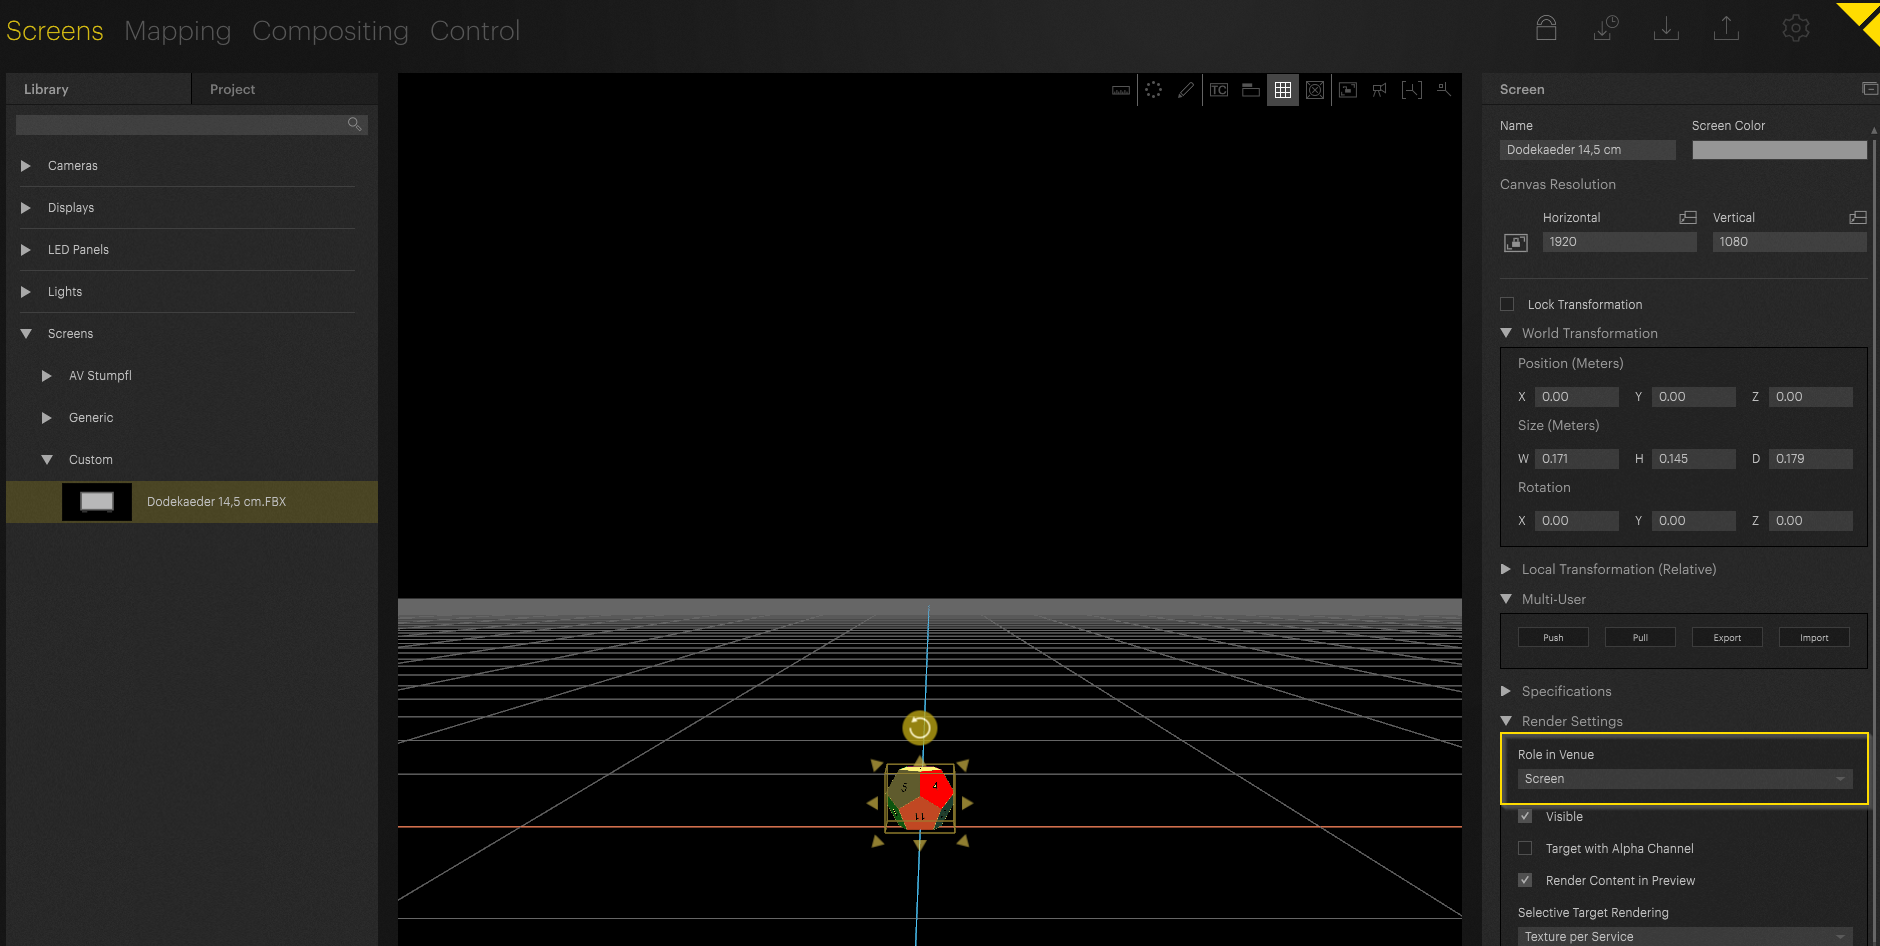
Set the Role to Screen. Otherwise, we won't be able to project onto it. Now we want to import the correct UV map.
Tip
For general 3D Workflow overviews look at this article:
3D Workflows - Pixera
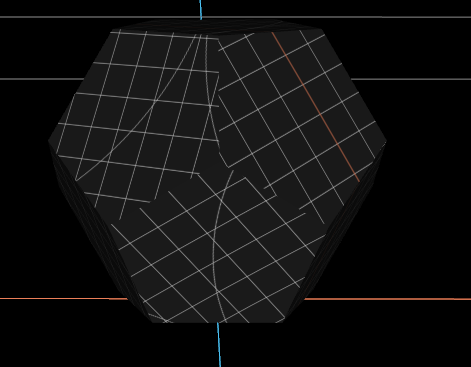
In this case we are not able to use the Pixera internal test pattern as it won't fit the UV coordinates:
Next import the correct UV texture into the Compositing Tab and apply it to the 3D model:
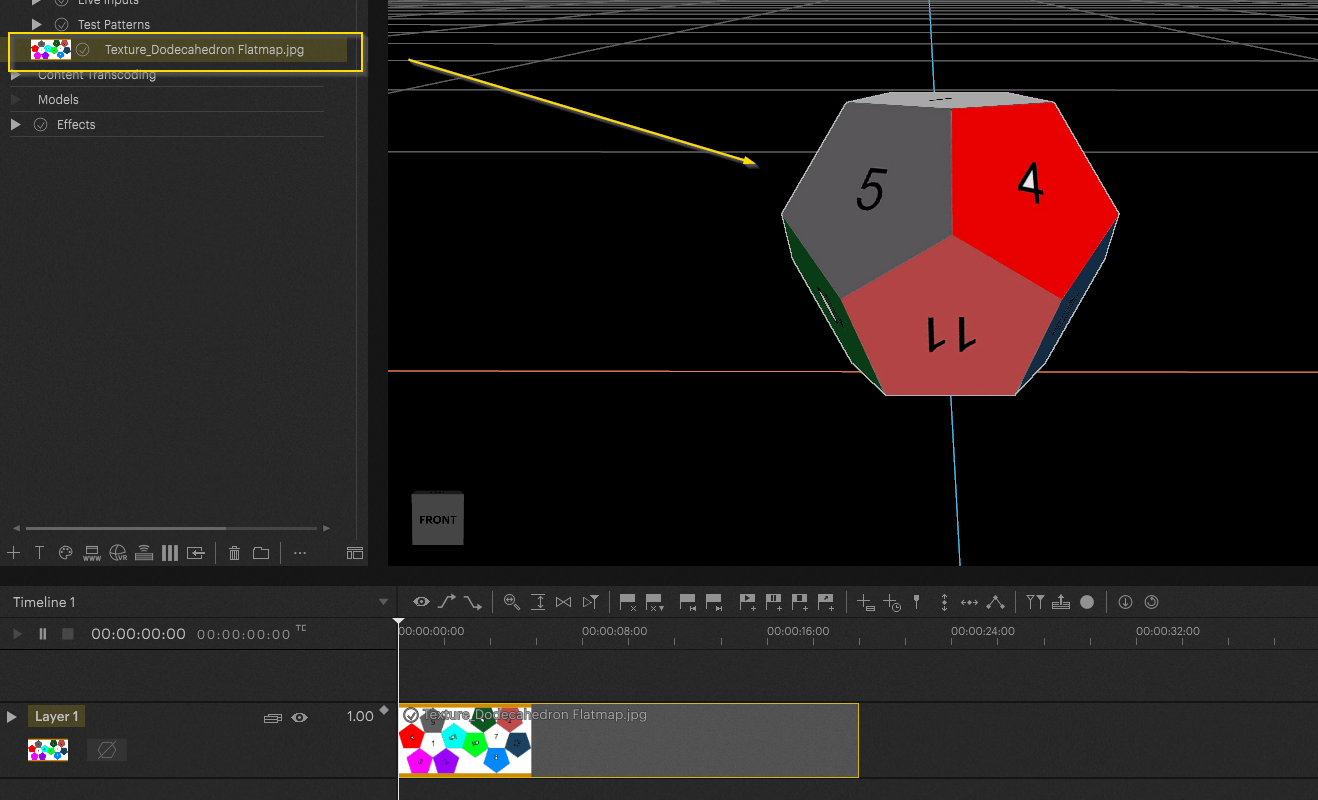
Now we have a Texture fitting the UV coordinates of the model and can start with the marker calibration in the next step.
Marker Calibration
Important
Marker Calibration can only be executed with a connected output. First assign an output before doing the marker calibration.
Add a projector to the setup. For this article i will use the Optoma ML750e, the same projector we use in our in-person demos. The projector was placed via the alignement tool (ctrl+alt+a):
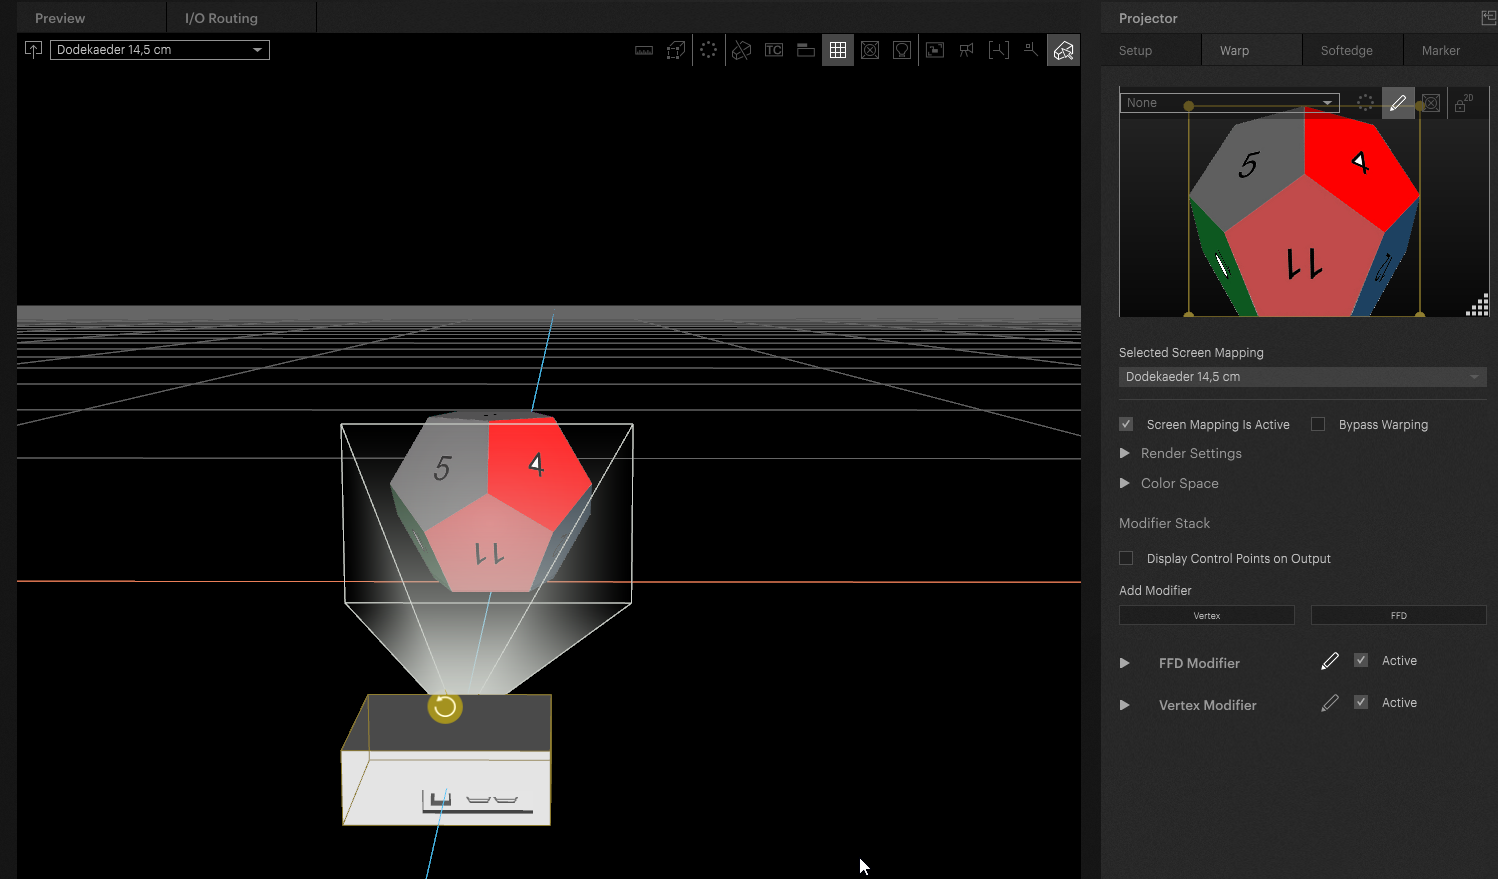
First switch to the marker option in the inspector, then activate the marker mode in the workspace:
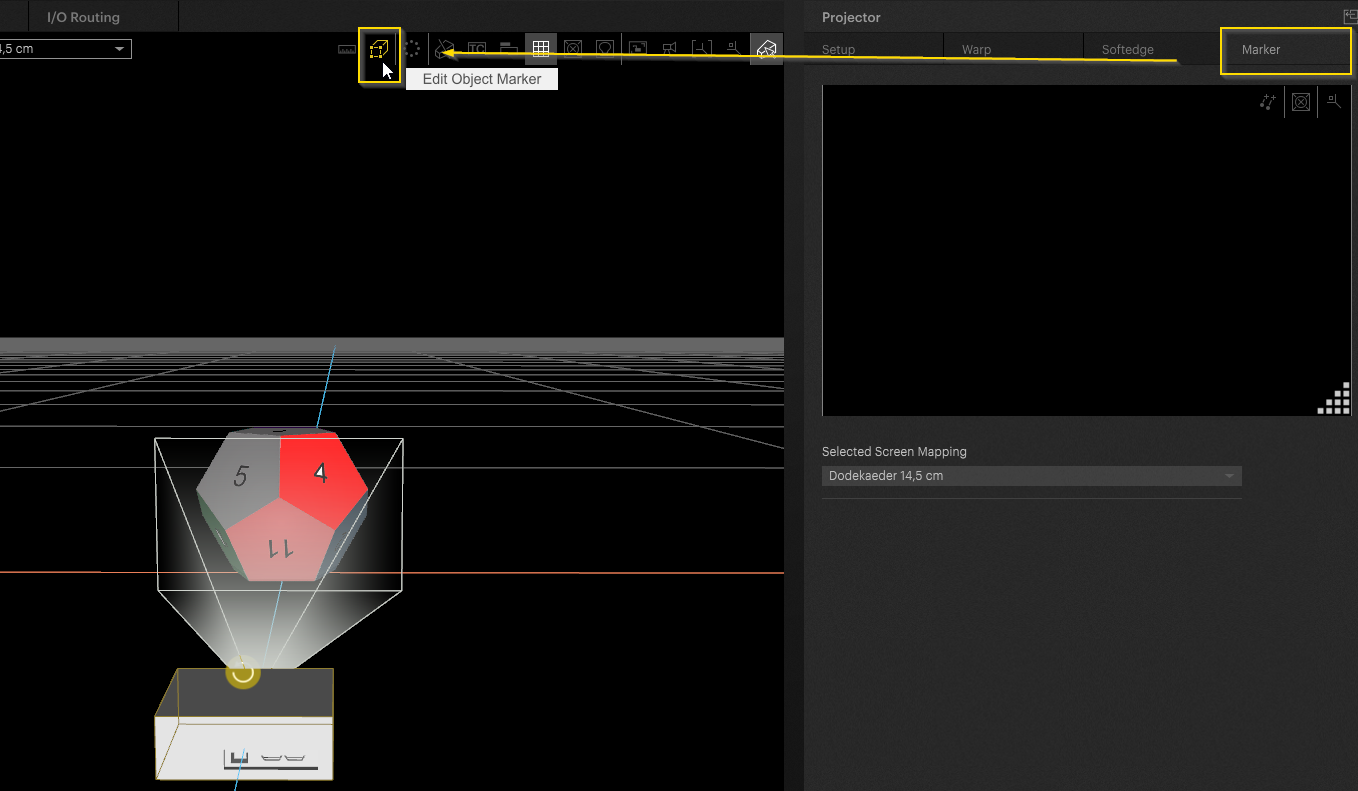
Now markers can be added directly on the 3D model in the workspace. Double click on the 3D model to add markers to the model: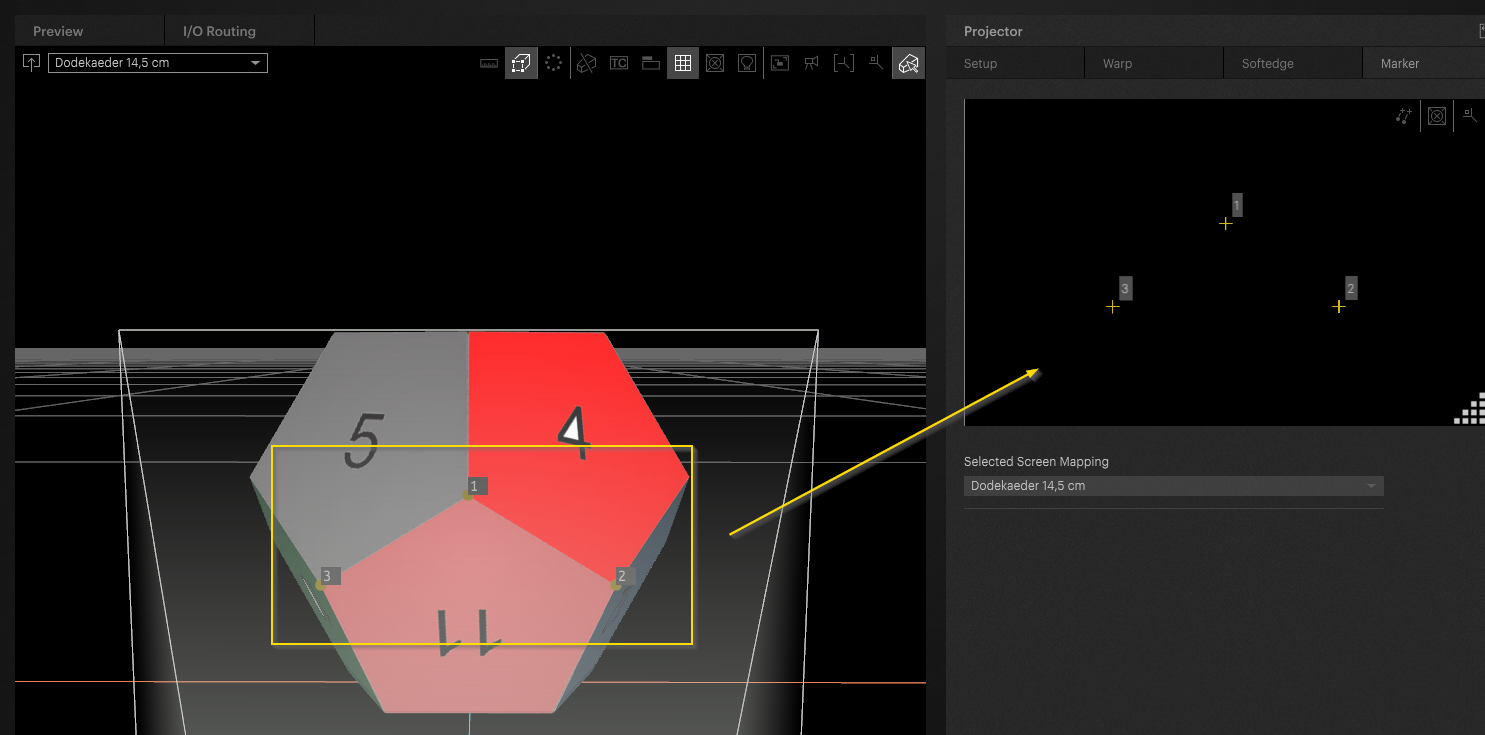
Markers are being created on the model. No in the “Marker Tab” in the inspector, the markers can be grabbed and moved. Activate the output. The markers are now projected onto the 3D model.
The goal is to place the marker at the exact same location it is placed in the Pixera workspace. By doing so Pixera will calculate the projectors' position by taking in the offsets of the marker's positions. It is advised to add a minimum of five markers.
As seen in the next picture the markers are currently off. The goal is to place them at the same position seen within the gui
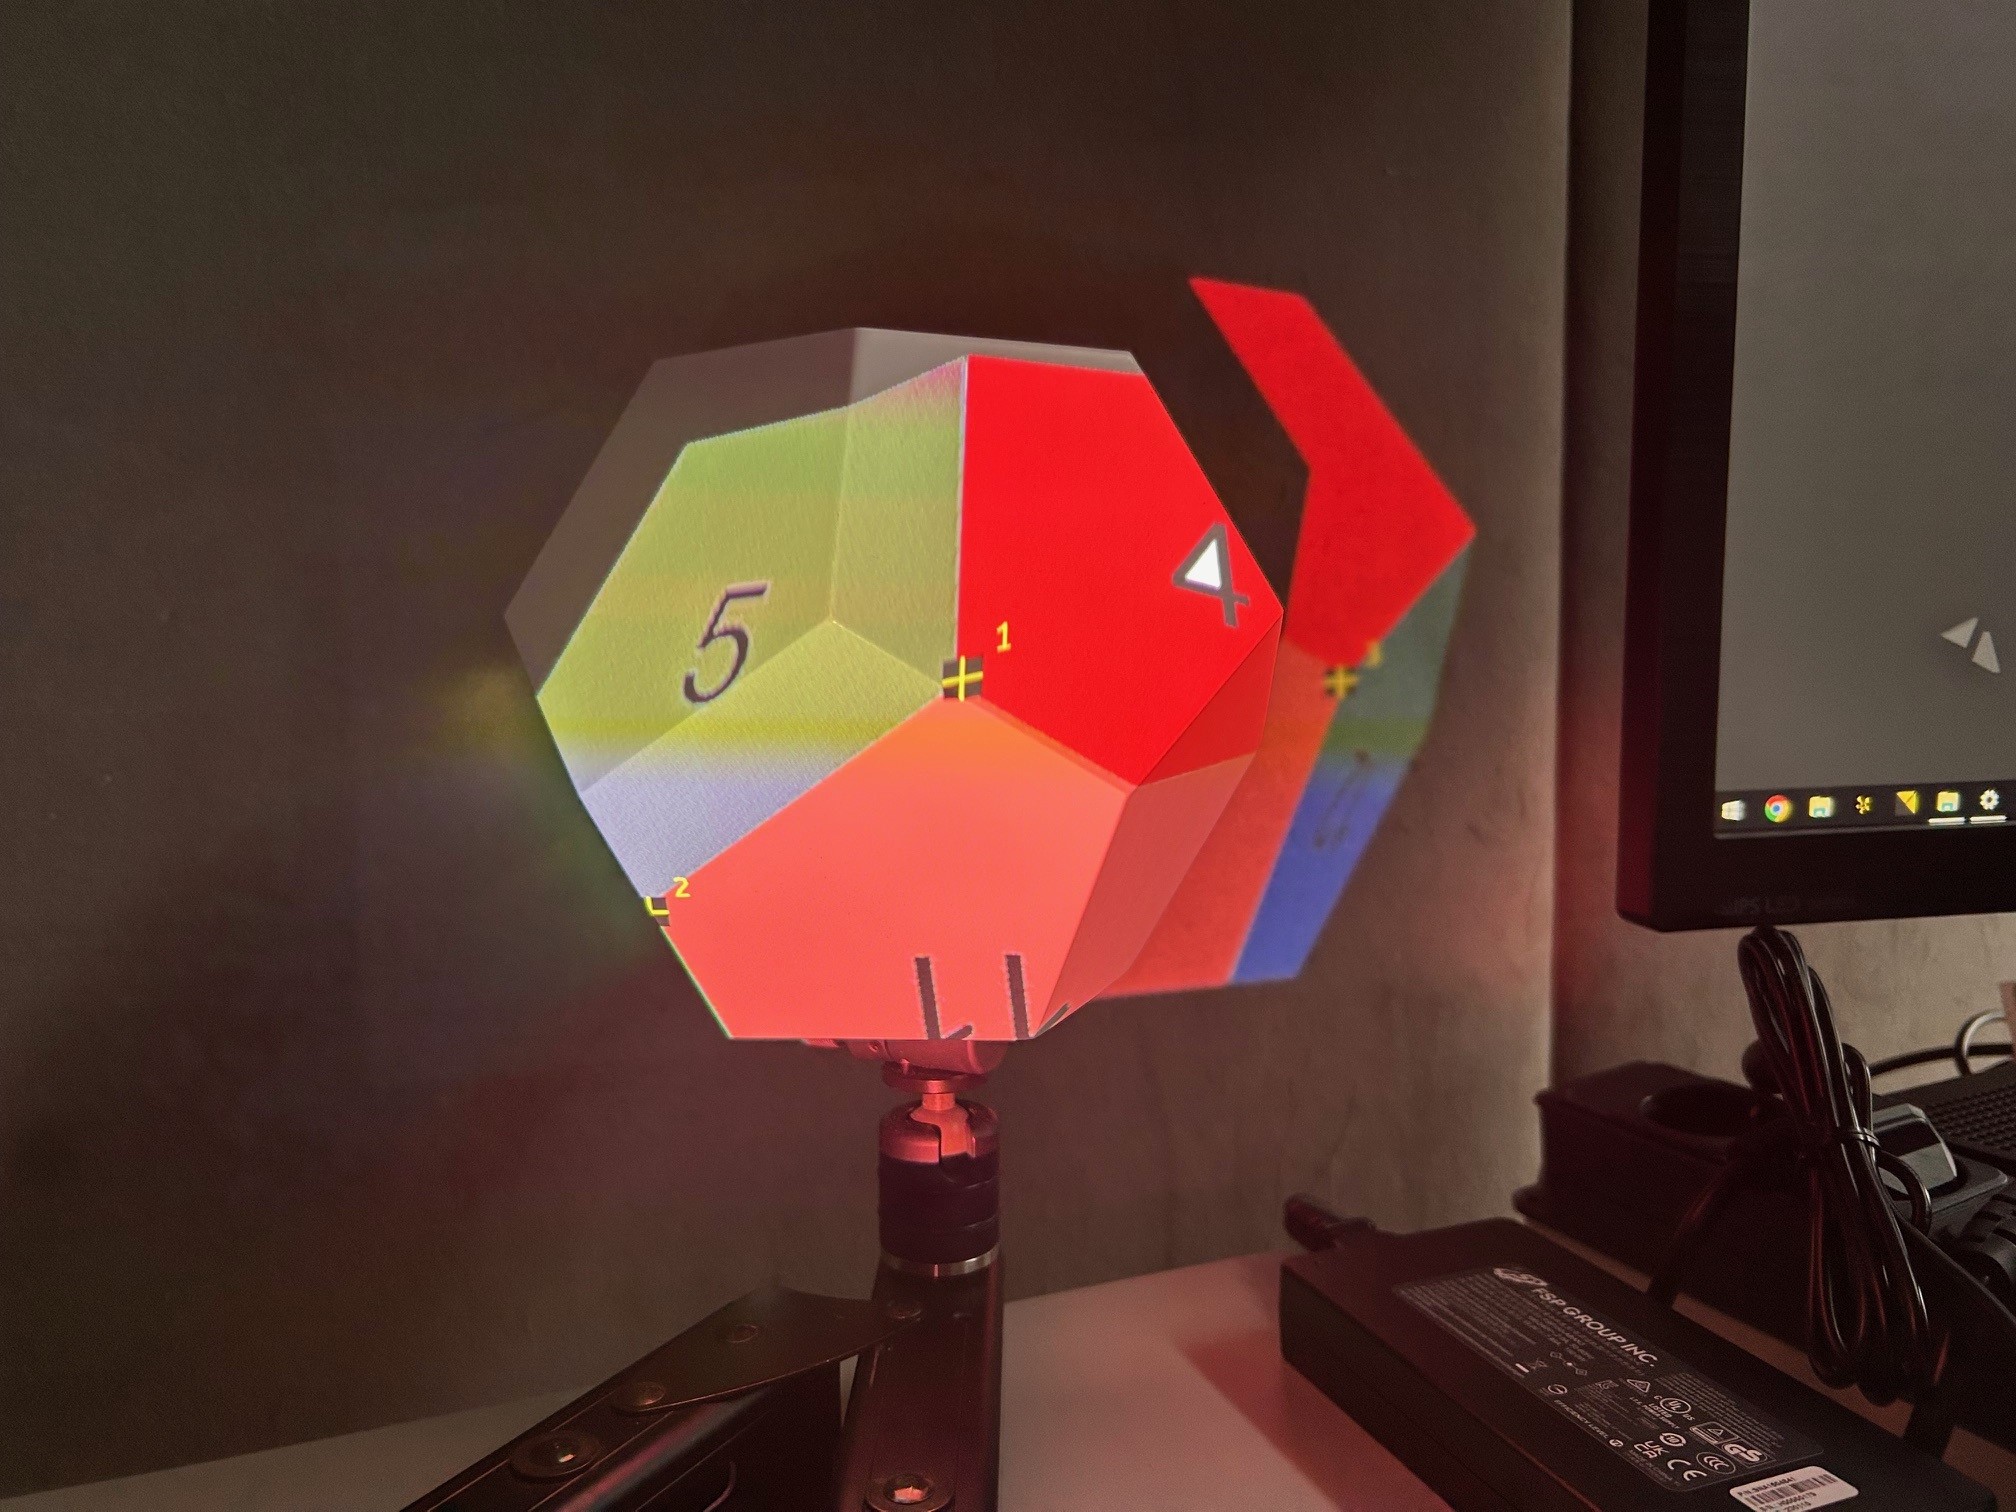
Select the markers in the marker tab and move them either by mouse or keyboard arrow keys: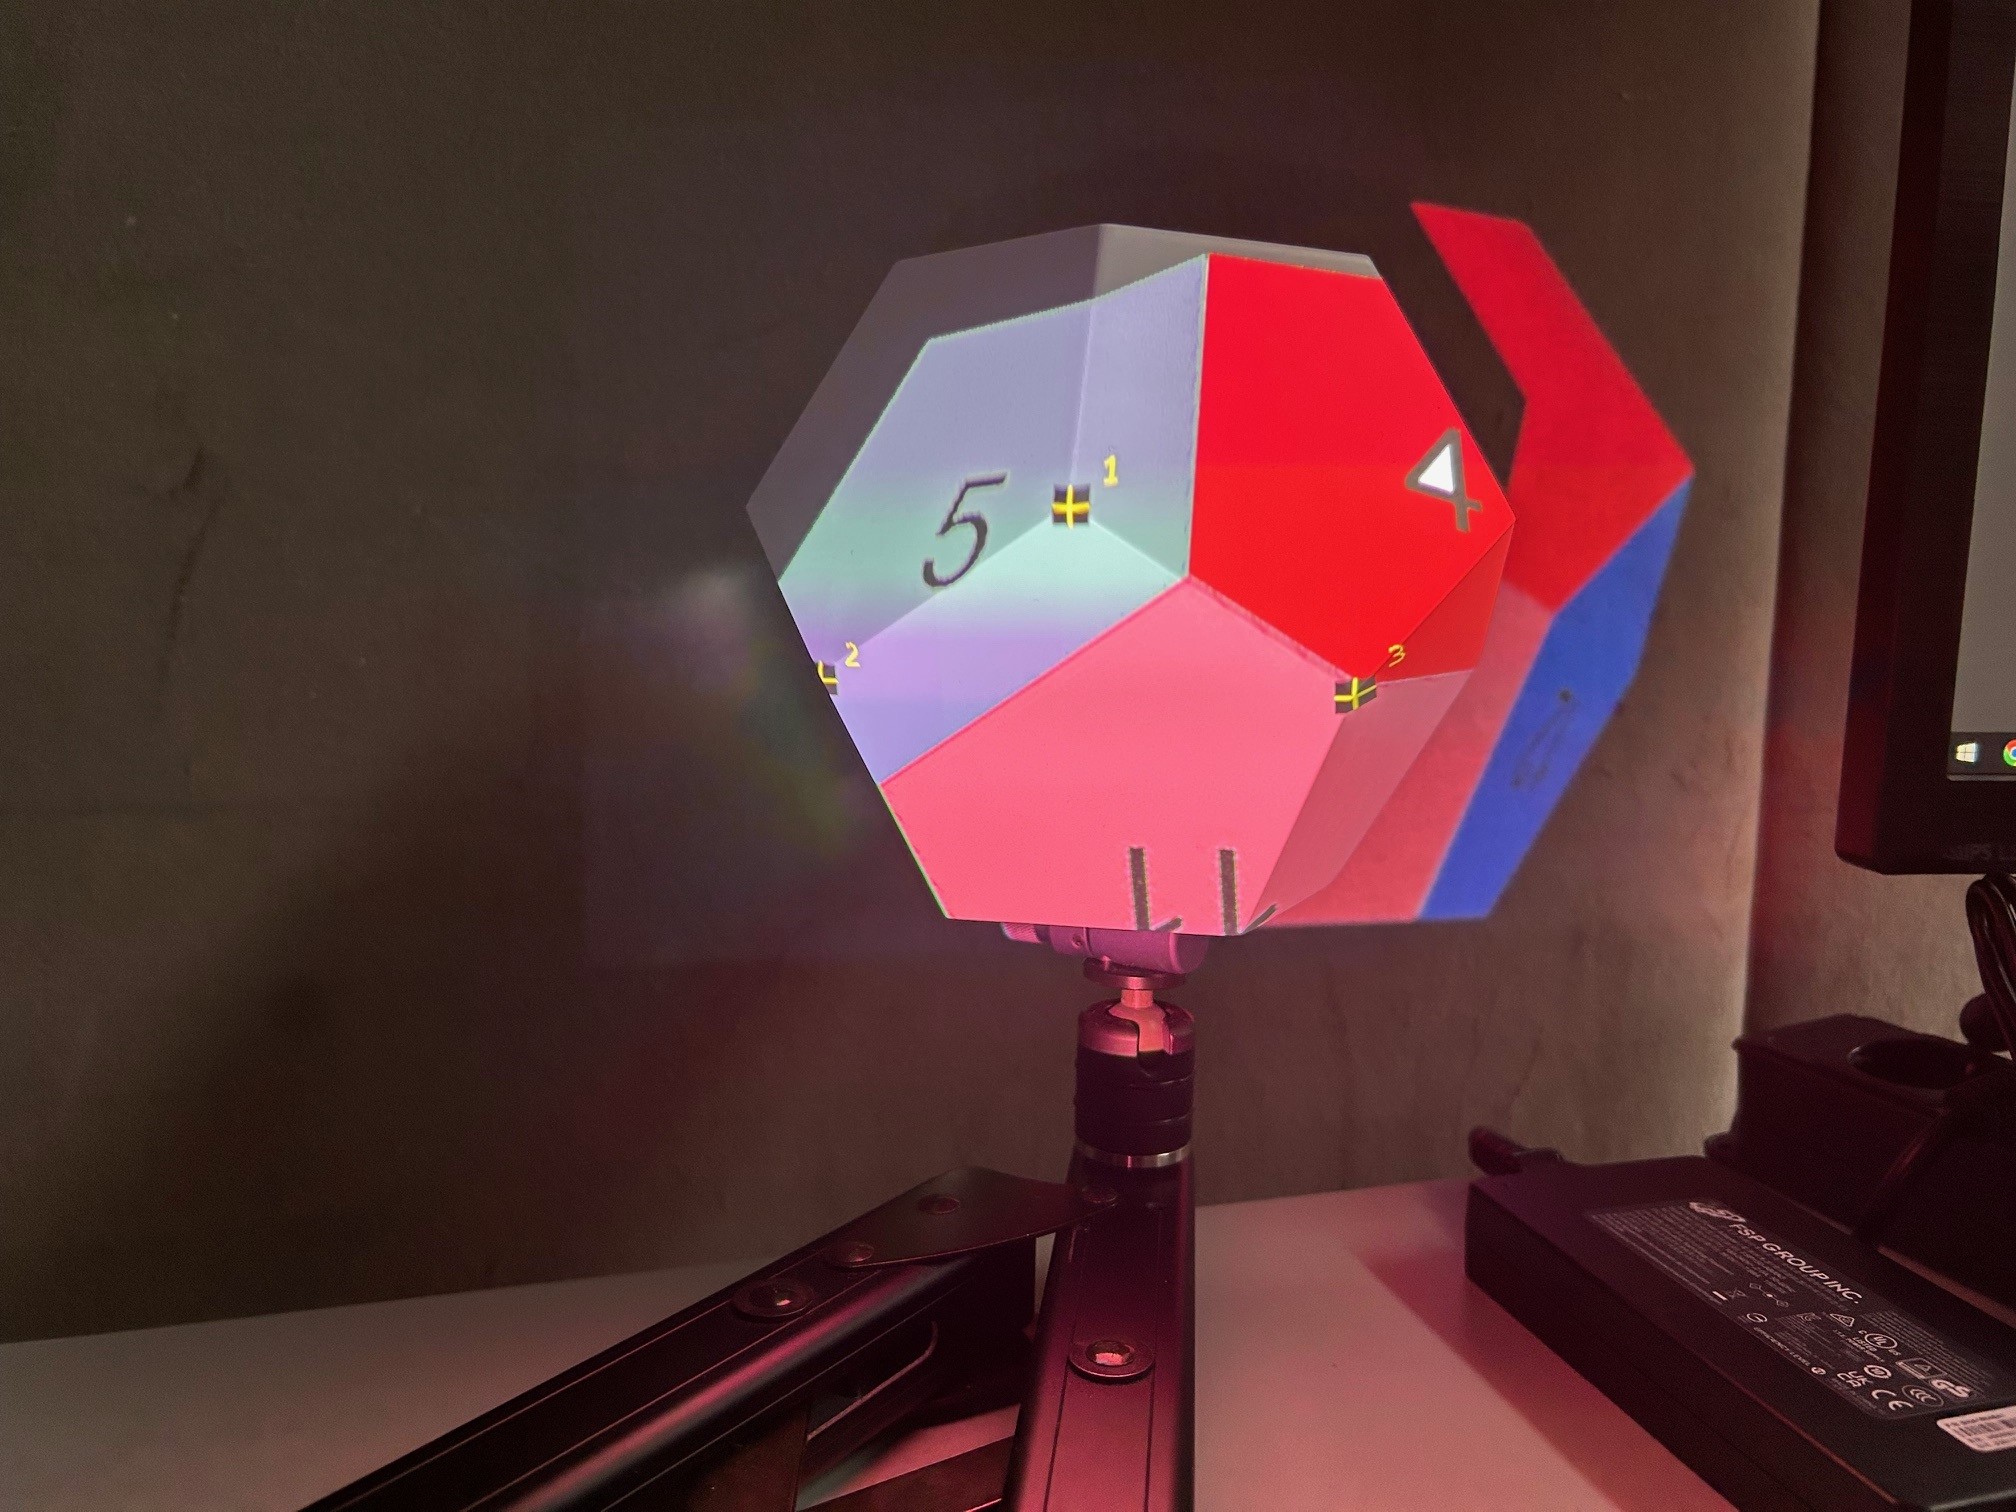
Comparing them to the marker's placement within the GUI they now look ok:
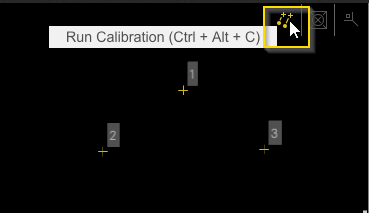
To activate the calibration, hit this button in the GUI. This button is a toggle button. If working on additional markers the mapping will adjust in real-time if toggle is kept on:
Youtube Video:
2.04 Mapping Tutorial Marker Calibration Basics - YouTube
Dynamic Softedge
In the case of marker calibration and projection onto a 3D object, the Dynamic Softedge option can be used. This is not displayed in Mapping->Softedge because it is applied directly on the engine side.
Read more in Dynamic Screen Workflow → “Dynamic Softedge”
Pixera 2.0 | 12.March 2024
 Contact Us


