This article describes how to animate screen/display and LED positioning via tracking data.
Set your tracking data as described in this article: Tracking Modules
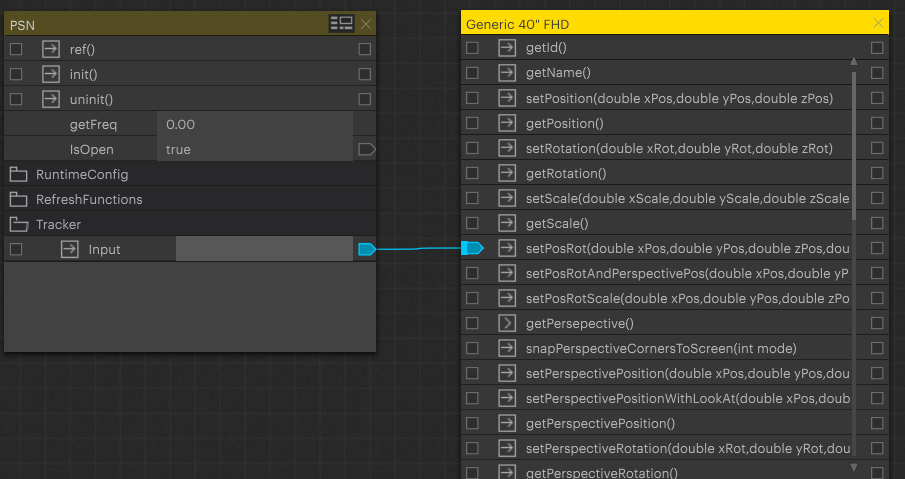
Next, connect the data input to the needed screen/display/LED, depending on what parameters you are receiving.
Warning
For all changes made to the screen and the Screen Group, please make sure that you have uninitialized the tracking module (aka click on the arrow next to the “uninit” action).
After all changes are made, hit the arrow next to the “init” action to re-initialize the tracking module.
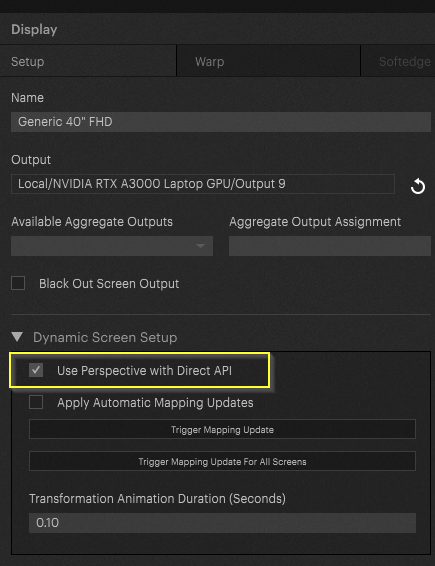
Select your screen inside “Mapping/Setup” as follows, and check the “Use Perspective with Direct API” setting.
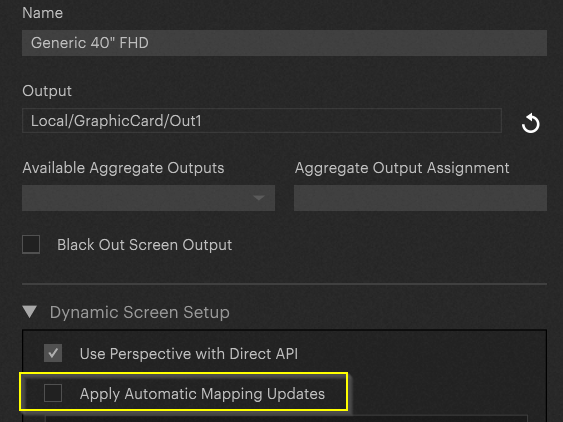
Uncheck “Apply Automatic Mapping Updates” for that screen.
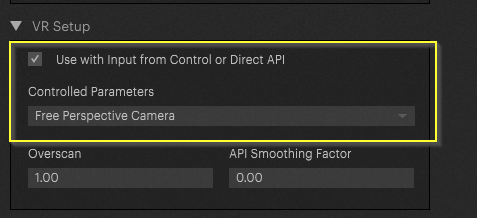
In “Compositing/Screen Group”: Choose the screen in the matching Screen Group. Select your screen and inside the VR setup setting check the “Use with Input from Control or Direct API” setting. Set controlled parameters to “Free Perspective Camera” and the perspective will move with the screen. Set to “Eye Point” and the perspective will move to look at a point on that screen.
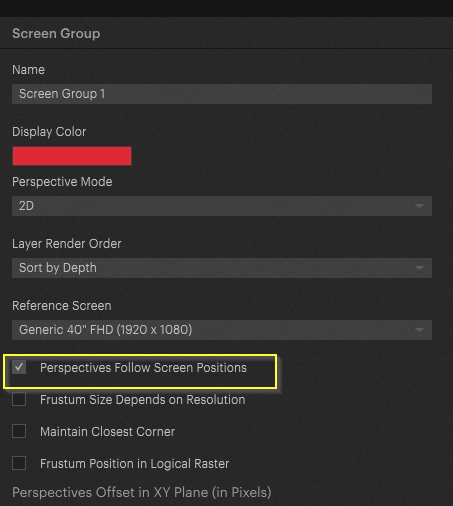
In “Compositing/Screen Group”: check the “Perspective Follows Screen Positions” if you want the screen to move above the content.
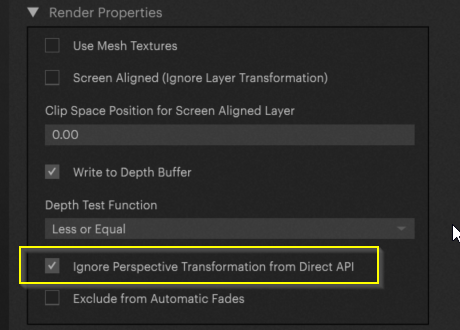
If you want the content to move along with the screen, please check the “Ignore Perspective Transformation from Direct API” parameter in the layer “Render Properties” setting.
Pixera 2.0.65 | 24 July 2024 | CL
 Contact Us


