You may be searching for Content Mapping
In 2.0, a multitude of effects designed for use in Virtual Production and LED Volumes will be included under Effects > Layer Mapping in your Resources tab.
To use an effect on a layer, simply grab and drop it onto the layer header. You will then see the effect added at the bottom and be able to twirl down the arrow to access its parameters.
These Layer Mapping effects are very powerful, yet they fundamentally change the way a layer manipulates content. Typically, content is directly linked to the perspective of the screen it is assigned to. Layer Mapping effects bypass that perspective to interact with the screen object itself. Having the correct perspective is still very important as it allows content to form a relationship with the screen object, but PIXERA no longer relies directly on that perspective. When a Layer Mapping effect is added, that layer now completely fills the texture size of the screen object.
Warning
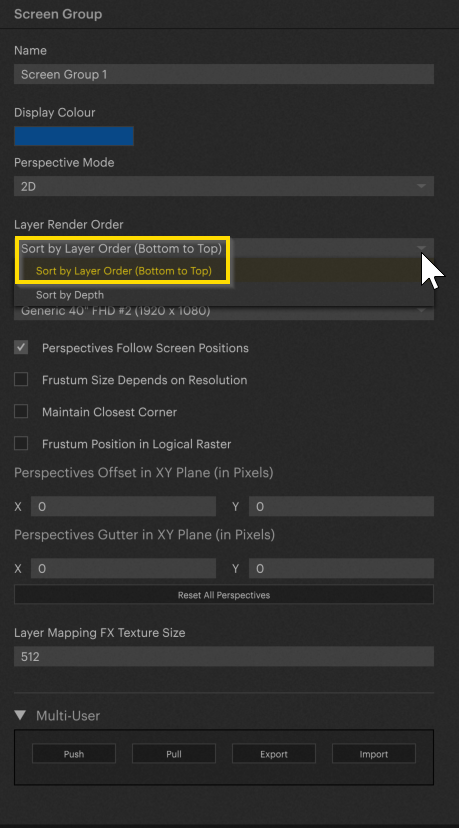
Using a Layer Mapping Effect will cause other layers to not appear even if above the Layer Mapping Effect layer. To resolve this, you have to change the “Layer Render Order” from “Sort by Depth” to “Sort by Layer Order (Bottom to Top)” inside the Screen Group using these layers. This will force PIXERA to render from the bottom layer to the top layer, making layers above the Layer Mapping Effect layer appear overtop it as expected.
DrivingPlates Effect
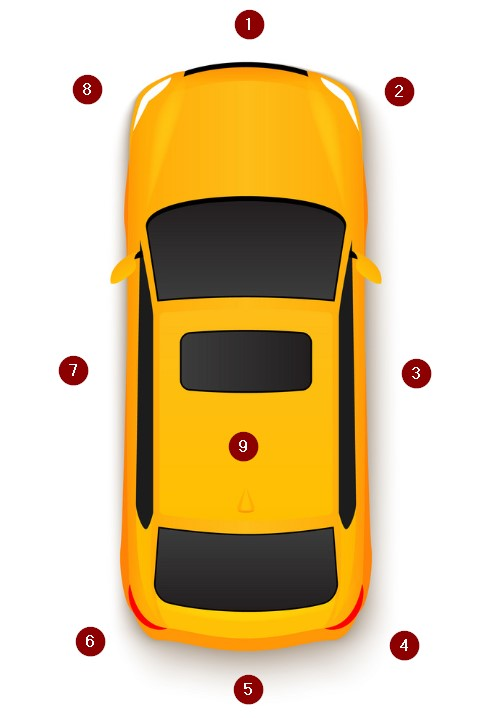
This effect was developed to interact with DrivingPlates.com content, delivered as 9 separate videos at different angles. These angles circle the outside of the car in a clockwise direction, with the last angle being the view of the sky:
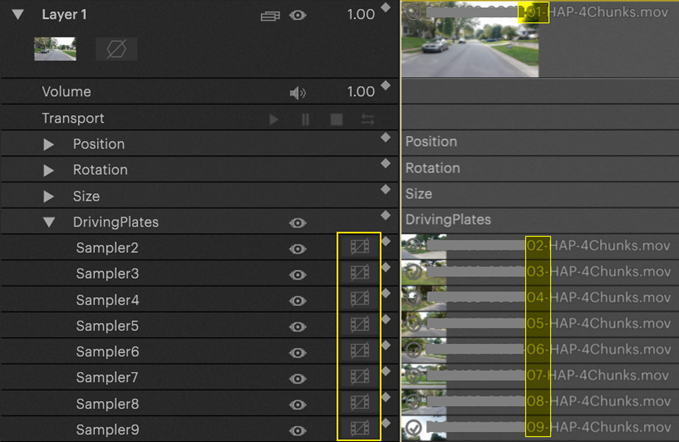
To use the effect, place your first video (angle 1) on your timeline, and add the effect to the layer heading as before. Twirl down the effect, and you will find the option to add your remaining videos to their corresponding “Samplers.”
Planar Mapping Effect
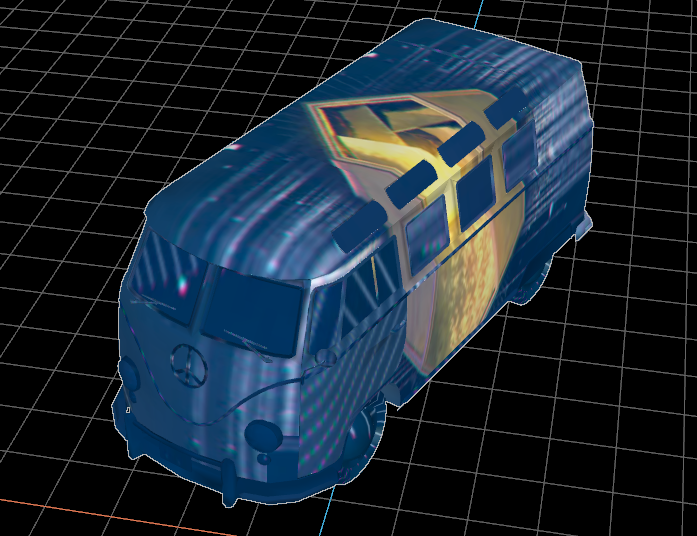
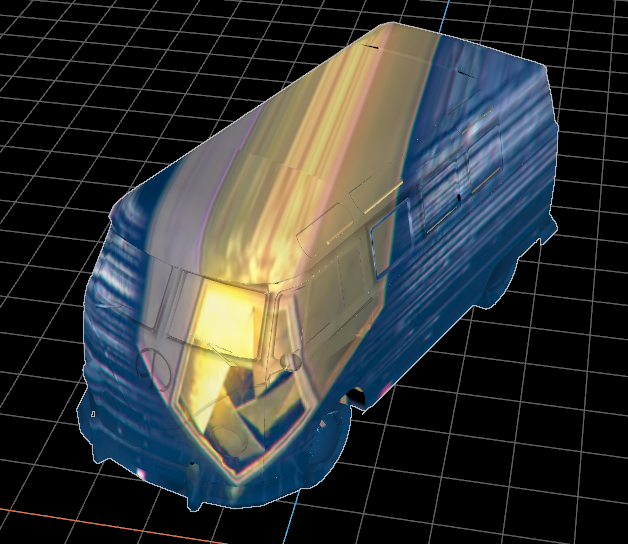
This method allows content to be projected into space as "parallel beams". There is no perspective distortion between the content on objects that are in the foreground of the room and the content on objects that are in the background of the room.
Original (without effect) |
Planar Mapping |
 |
 |
Perspective Mapping Effect
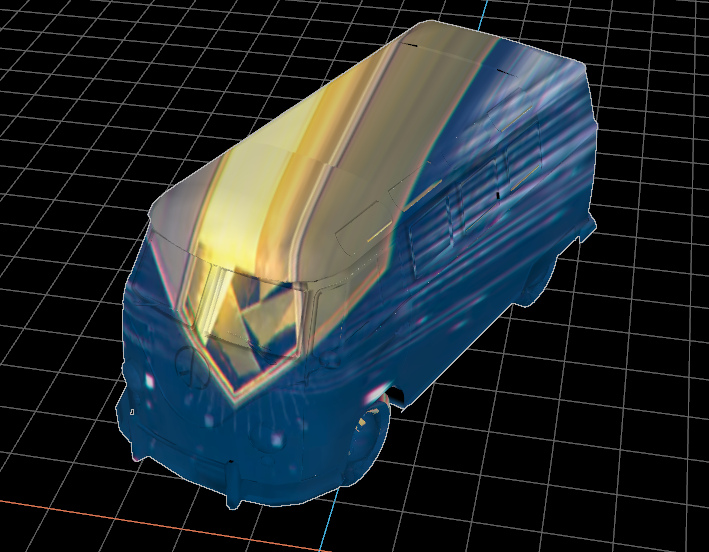
This method allows content to be projected into space as “perspective rays.” This means the pixels that hit an object further back in space are displayed larger than those that hit an object further forward in space.
Original (without effect) |
Perspective Mapping |
 |
 |
Equirectangular Mapping Effect
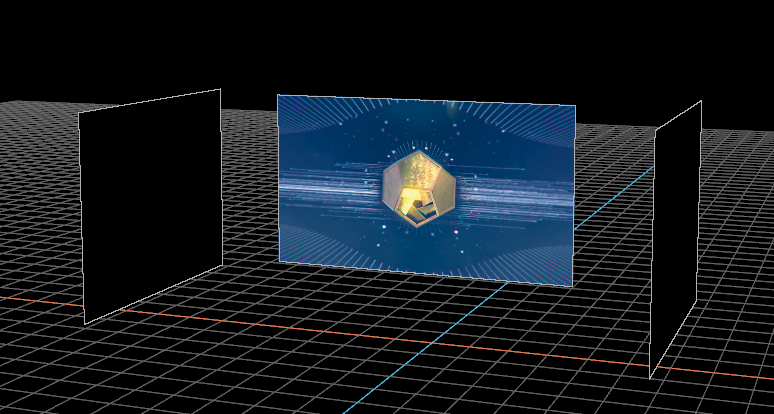
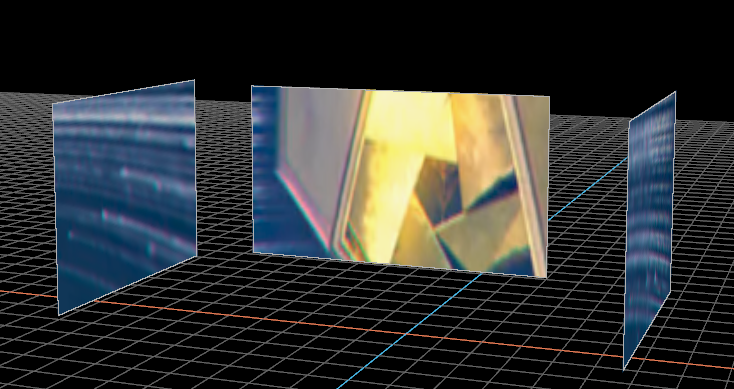
This method allows content to be broadcast spherically from a point in space. This gives an impression similar to an environmental map. The center point can be moved and positioned in space via the effect parameters (X,Y and Z positions). The Equirectangular Effect is meant to be used specifically with Latlongs or 360 video content. It is based off of the Equirectangular Map Projection formula.
Original (without effect) |
Equirectangular Mapping |
 |
 |
Show UI in Workspace
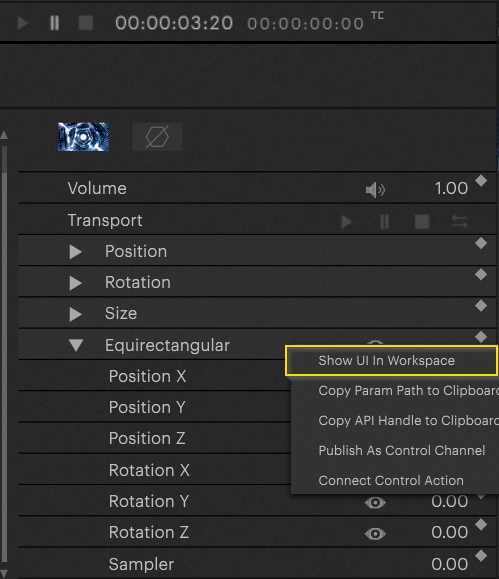
Because PIXERA does not use a screen object's perspective for content display when Layer Mapping effects are in use, you are no longer able to control content using the Perspective tool. We have added a UI tool to interact with these effects. Right-click within the effect parameters and select “Show UI in Workspace”:
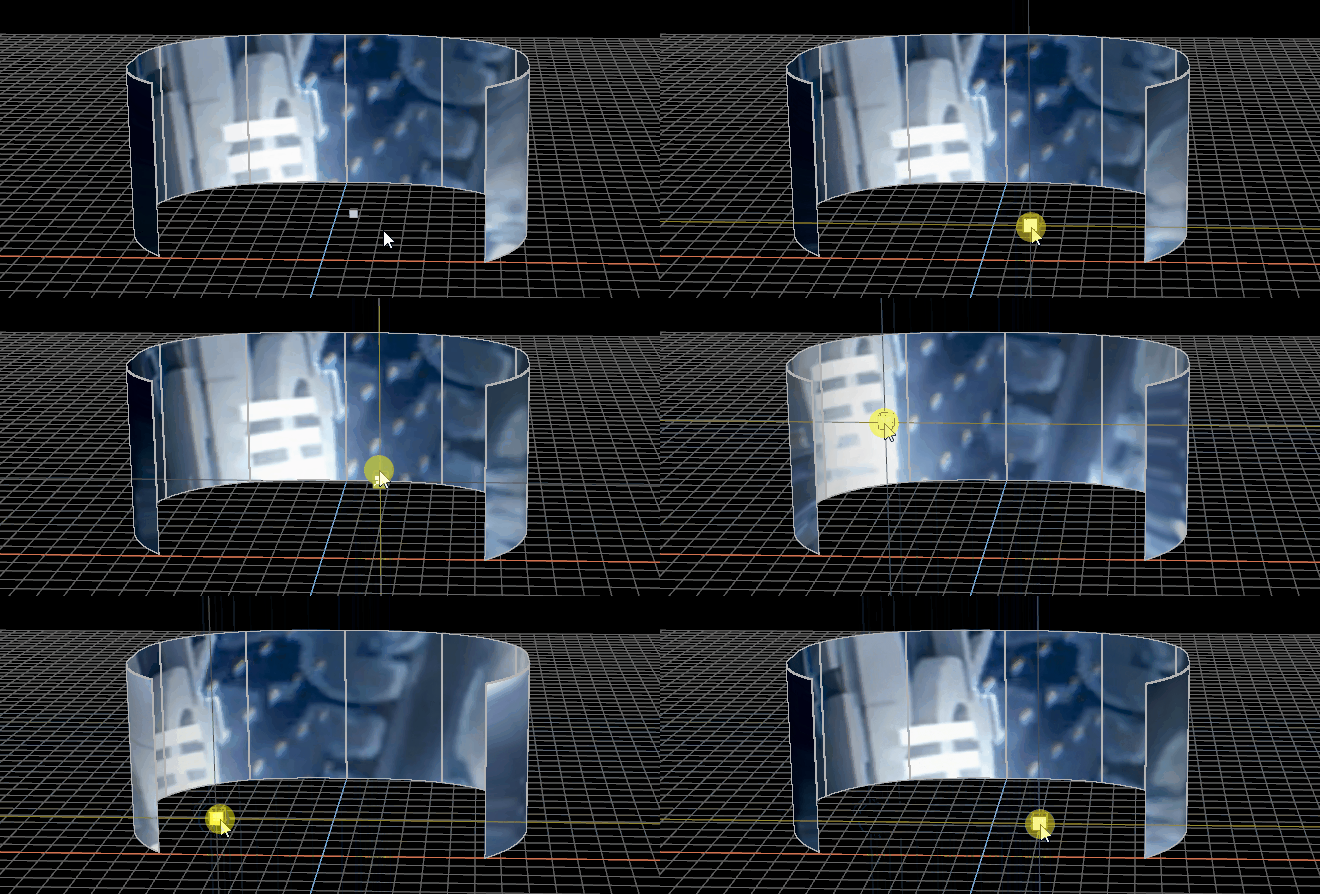
The UI will appear, and you will be able to move it to manipulate content:
PIXERA 1.9.144 | 04. October 2023
 Contact Us


