Arranging Clips
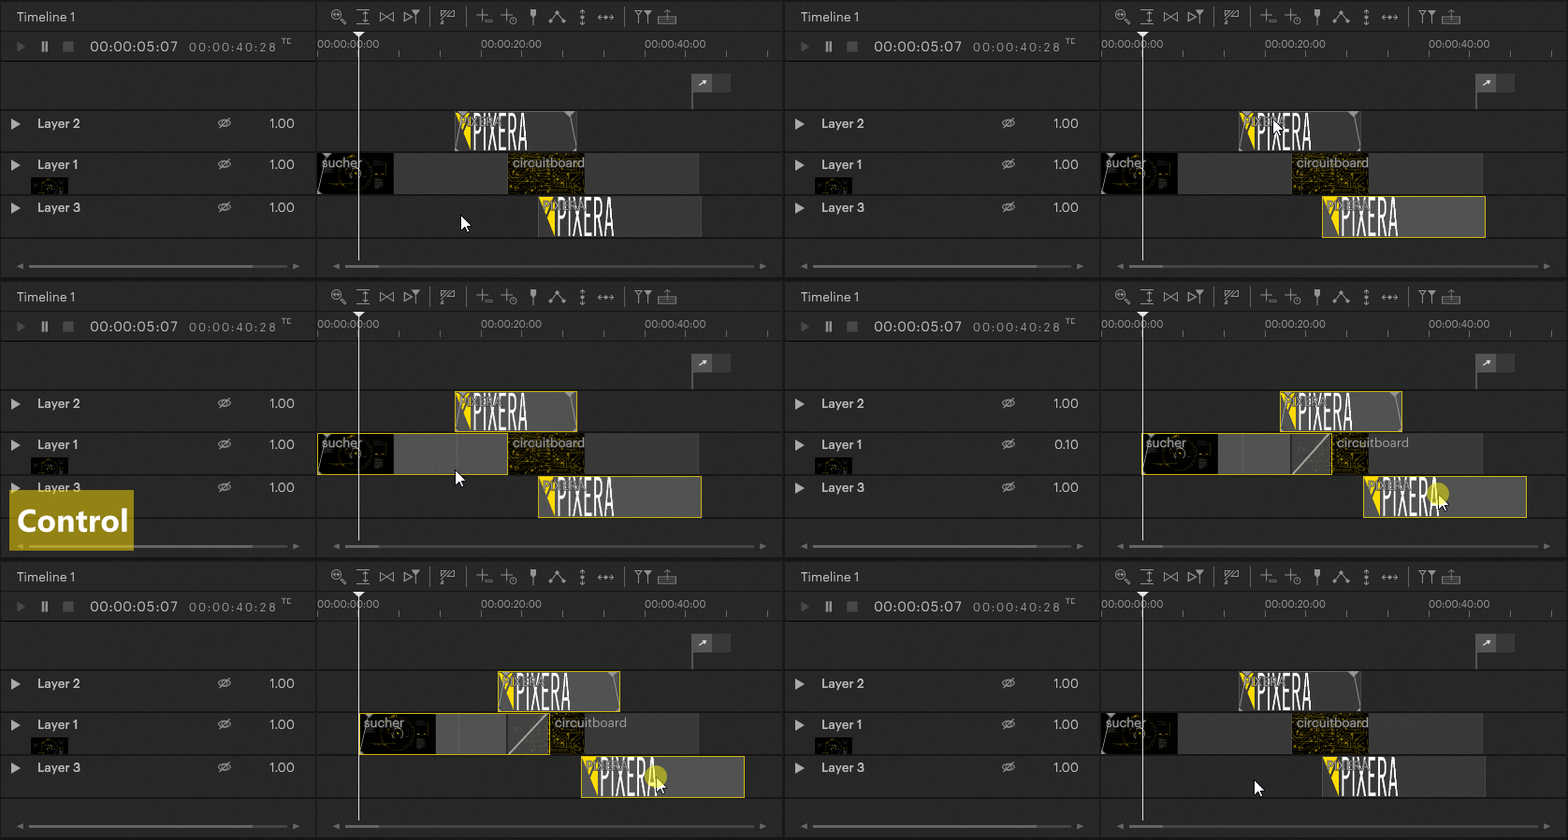
There are three options to arrange or move clips on the Timeline: Via Mouse dragging, via keyboard input and by setting them in the Inspector:
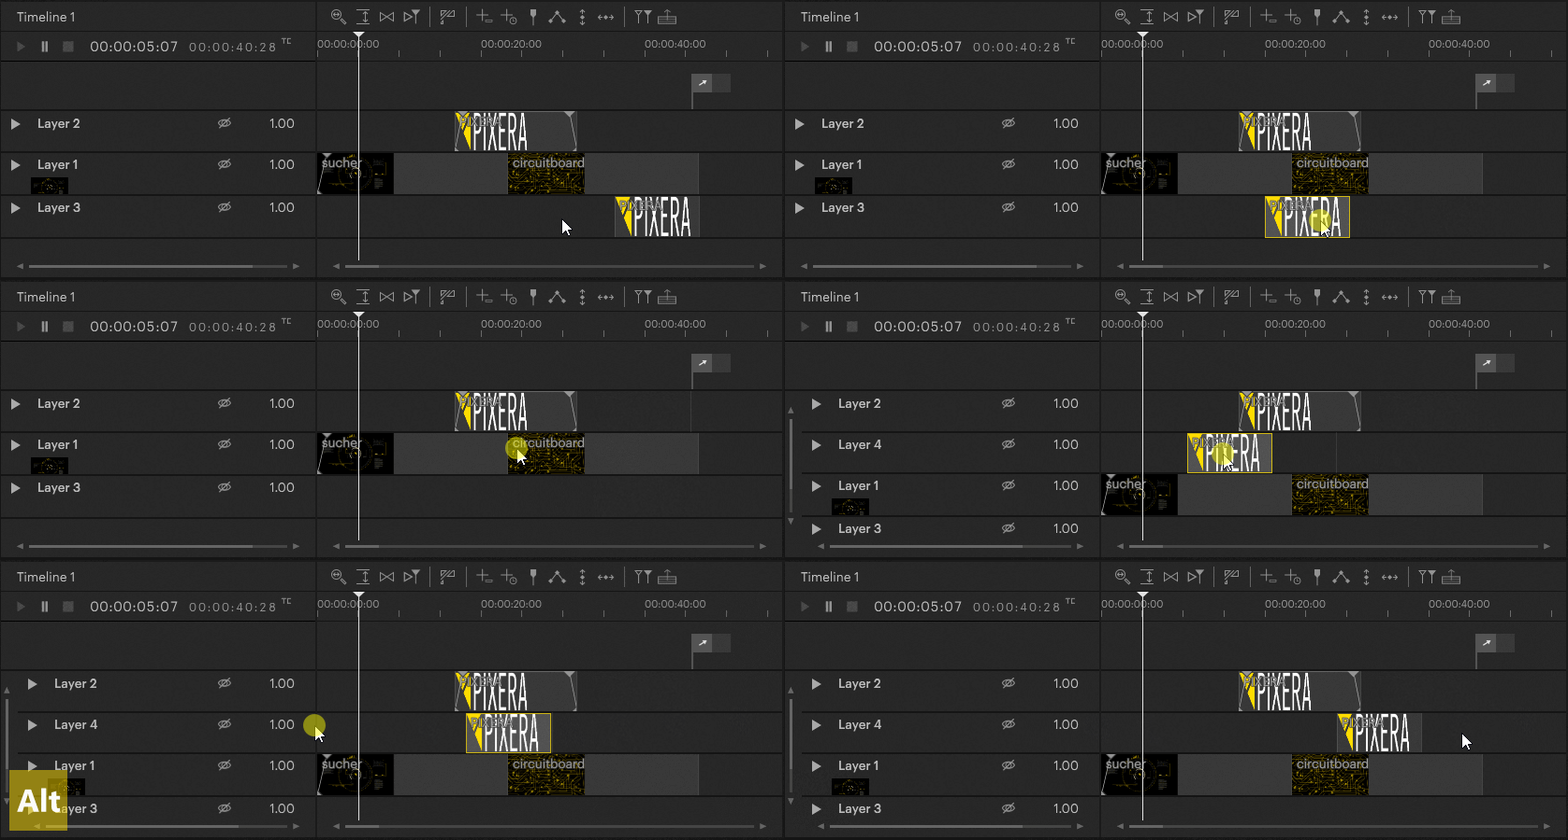
- The most convenient way to arrange or move clips on the Timeline is by simply dragging them to the desired position. Dragging also allows to place the clip on another layer. Note that dragging a clip between two layers will automatically create a new layer at that hierchical level and place the clip on the newly created layer. This will be indicated through a very thin clip above or underneath an existing layer at the mouse cursor's position.
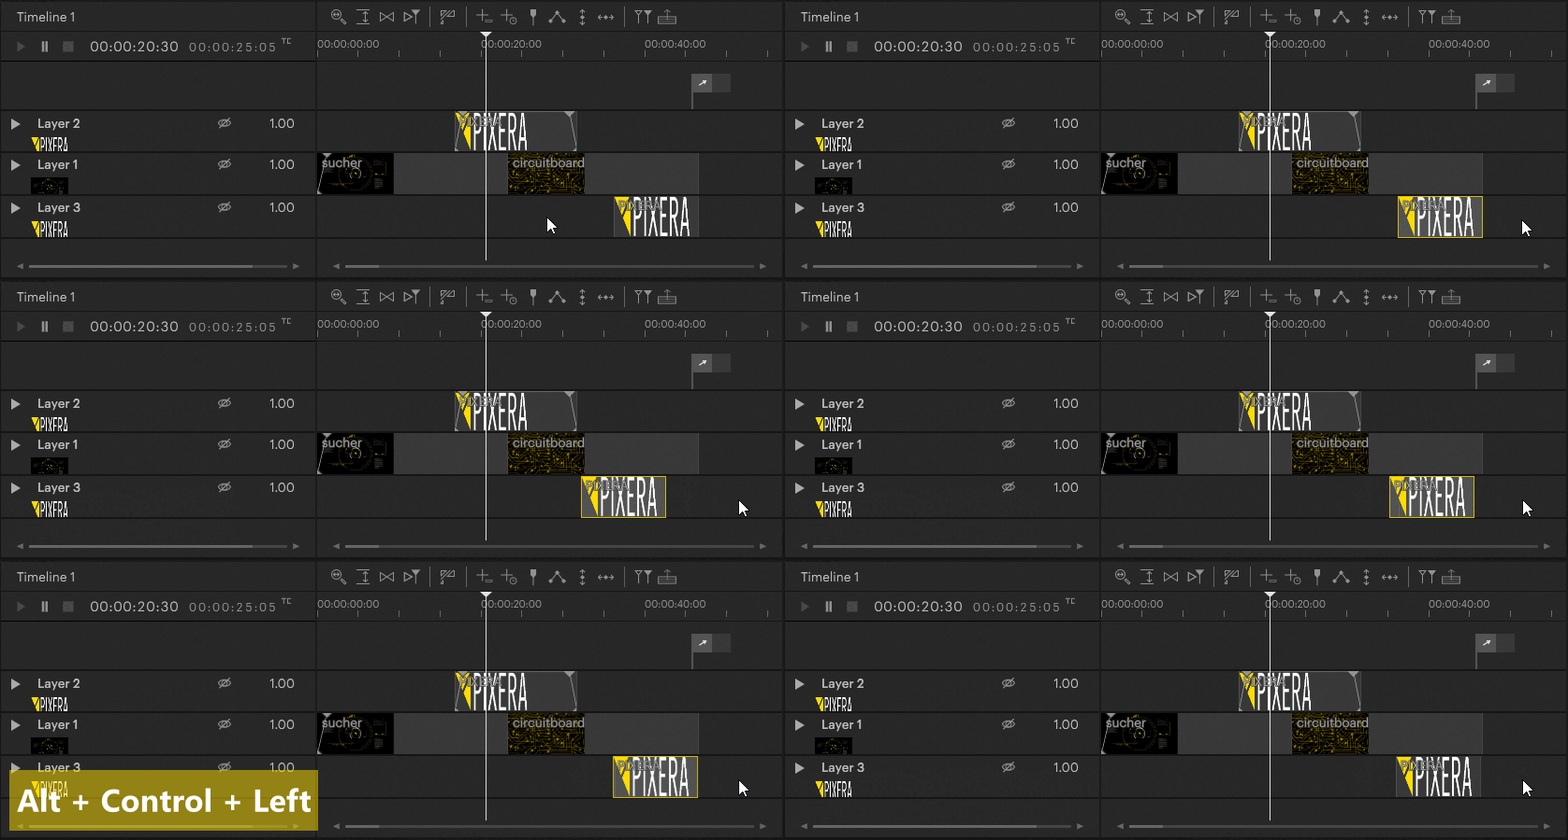
- Holding down Ctrl on the keyboard and using the arrow keys (←, →) allows to move the clip on the Timeline while keeping it on the same layer.
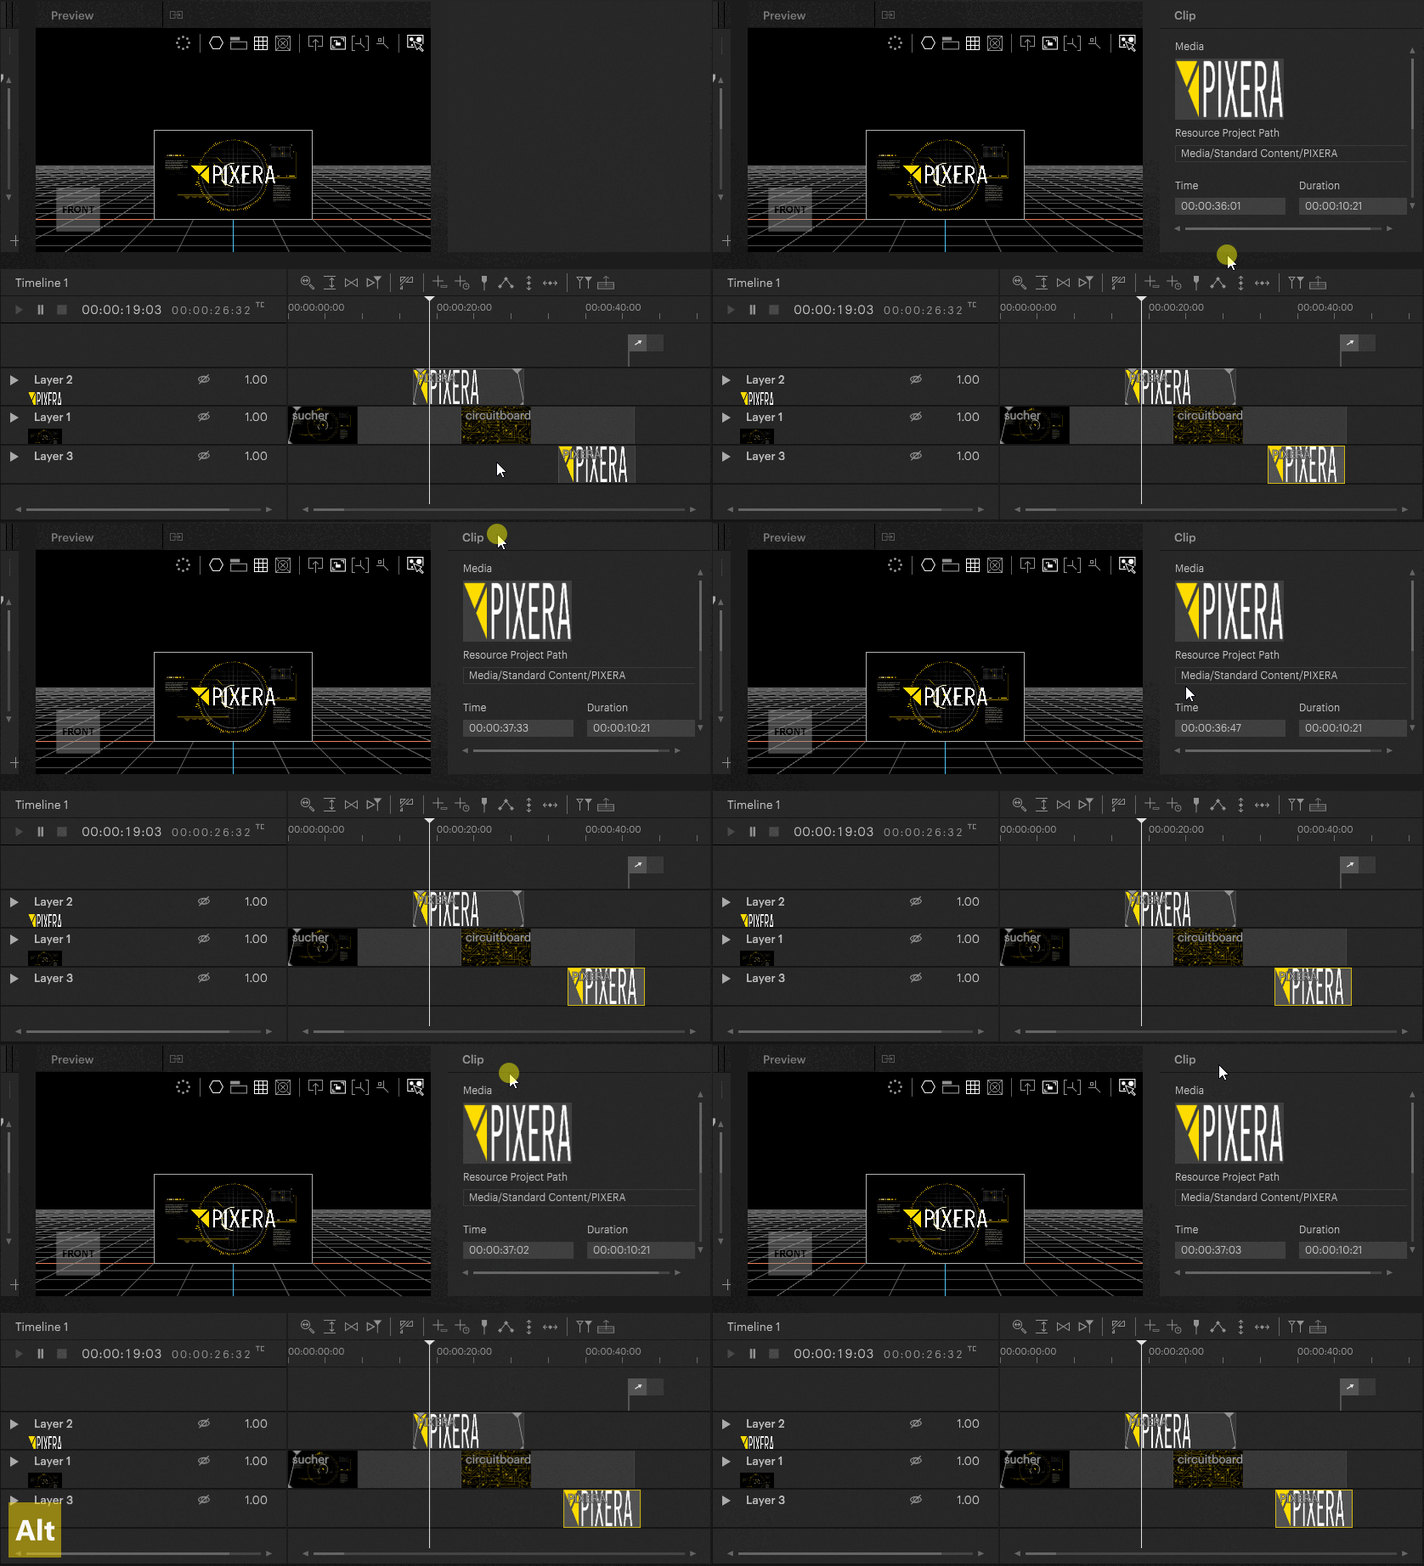
- Selecting the clip and changing the value in the Time field in the Inspector is another way to reposition the clip on the Timeline, again keeping it on the same layer.
Selecting multiple Clips
Selecting multiple clips that are next to each other can be done by using the mouse to drag a selection window over them. All clips completely covered by the selection window will be selected.
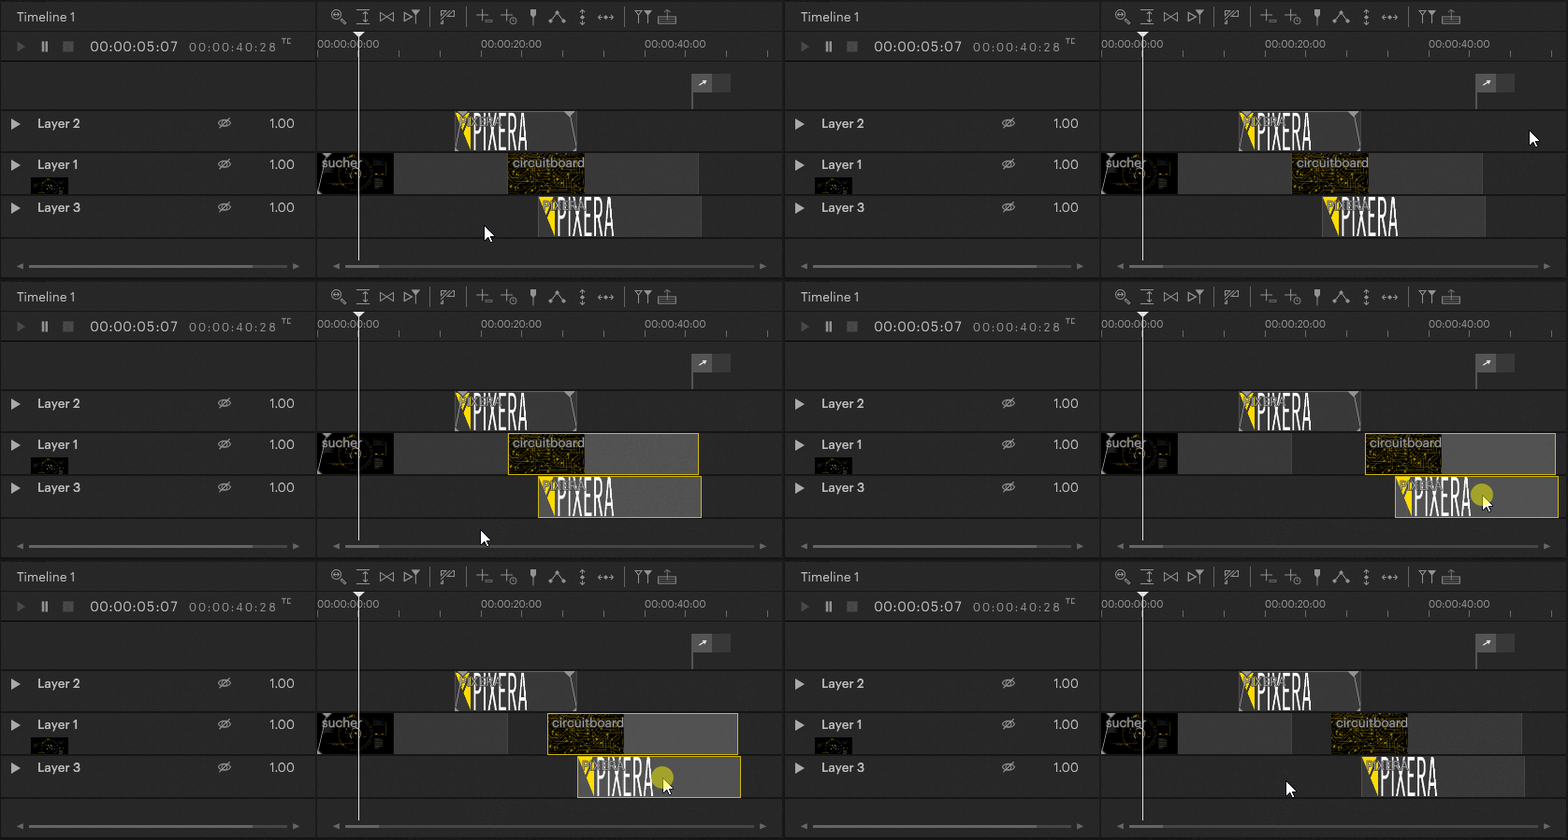
Selecting multiple clips that aren't next to each other on the Timeline or have clips in between that should not be selected can be achieved by holding down Ctrl on the keyboard while selecting all desired clips using the left mouse button.
Copying and Pasting Clips
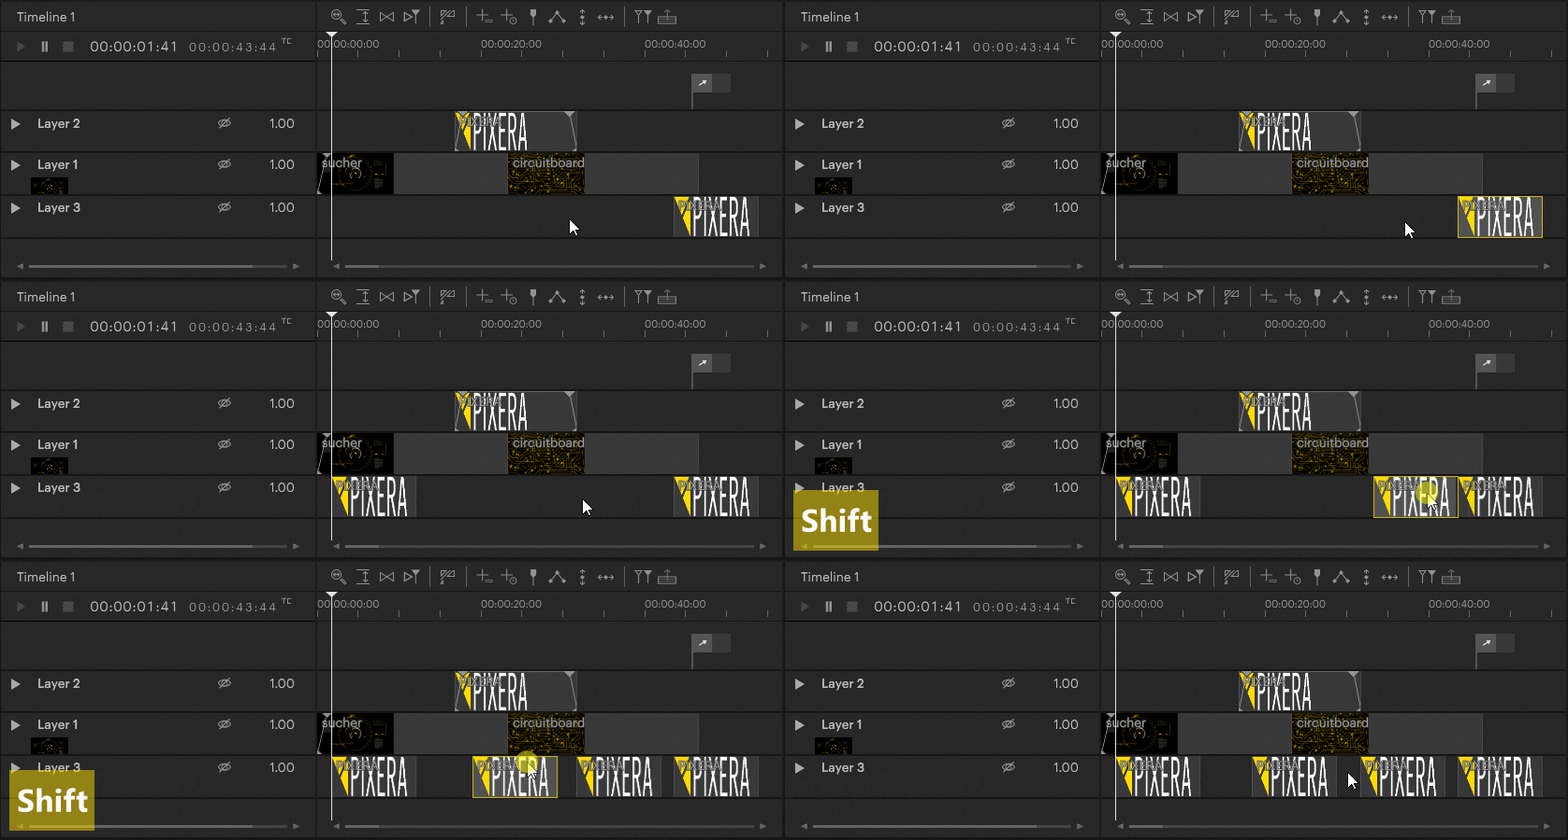
Clips can be copied and pasted using the standard copy and paste functions Ctrl + c and Ctrl + v. Pasting a clip via Ctrl + v places the new clip on the same layer at the Nowpointer's current position.
Snapping
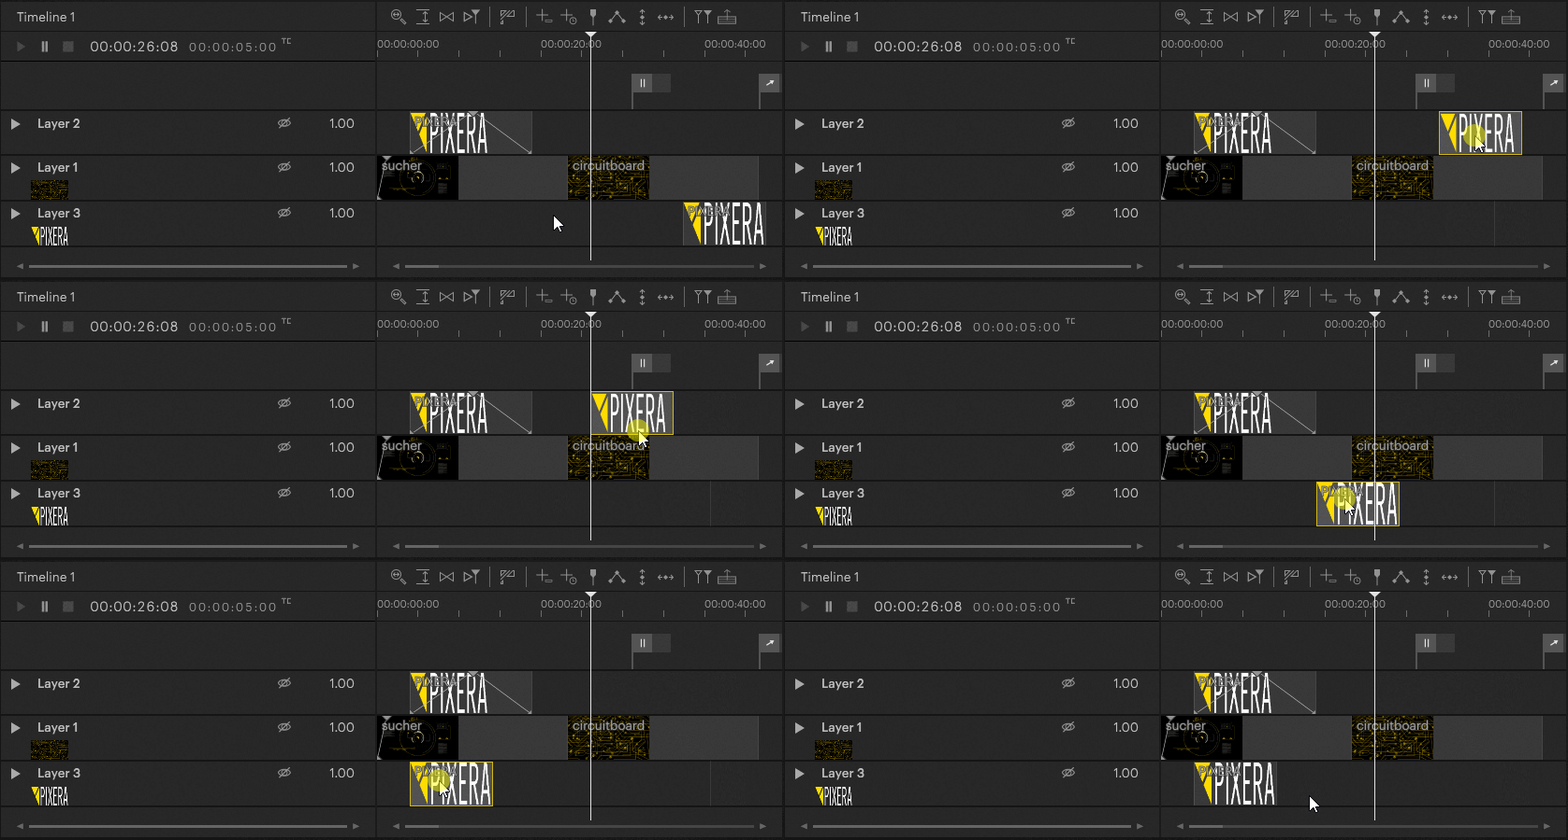
Clips automatically snap to other clips, events and cues, even if they are located on other layers.
Automatic Dissolve
Moving clips to a point where they overlap with other clips on the same layer automatically creates a straight cross dissolve between them. The cross dissolve will exactly match the time they have been overlapped on the Timeline.

 Contact Us


