 Contact Us


In this article we will go over where to start when creating a new Module, and how the basics work. In this example we will create a new Module, set the properties, create Actions and connect them to other Actions.
The "PropertiesExample" Module was added to the installer 1.9.164 and above, that illustrates most of the property builder functionality. This can be used as starting point and unused elements can be deleted from the Module.
Other recommended articles for further Module improvements:
Module Style Guide
Control Lua Style Guide
The Module
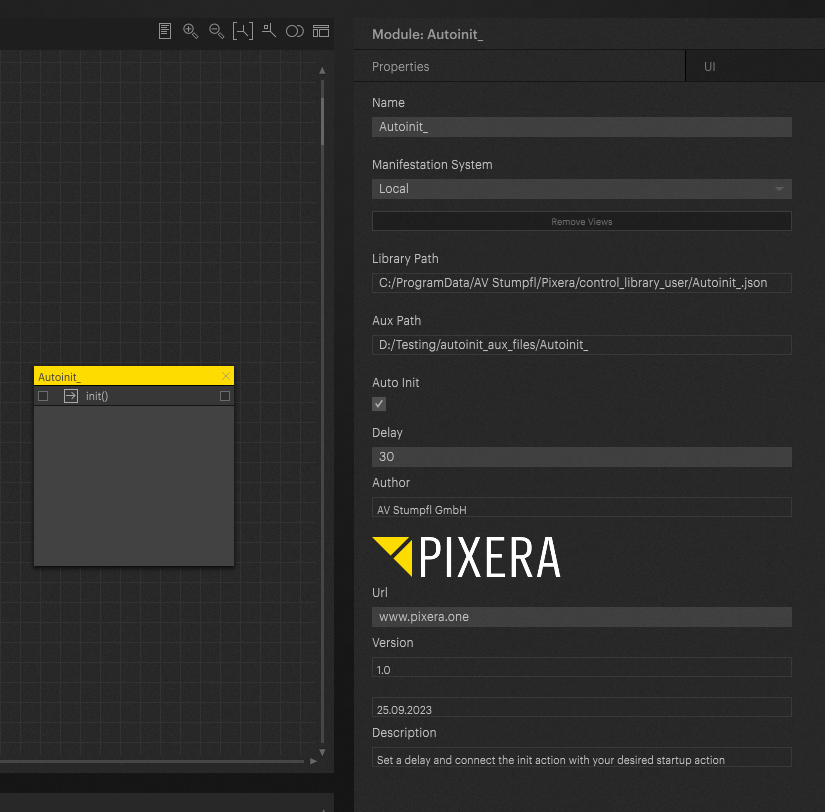
We will create the Module “Autoinit”, it should provide a simple node based solution to run a Module after startup. It is also possible to set a delay, in case some elements in PIXERA are not ready at startup.
First Steps
We will add a new Module and start to create Properties like Module version, date, etc.
- Import “NewModule” to the workspace
- Change name to Autoinit
- Right-click the Module and Launch Property Builder
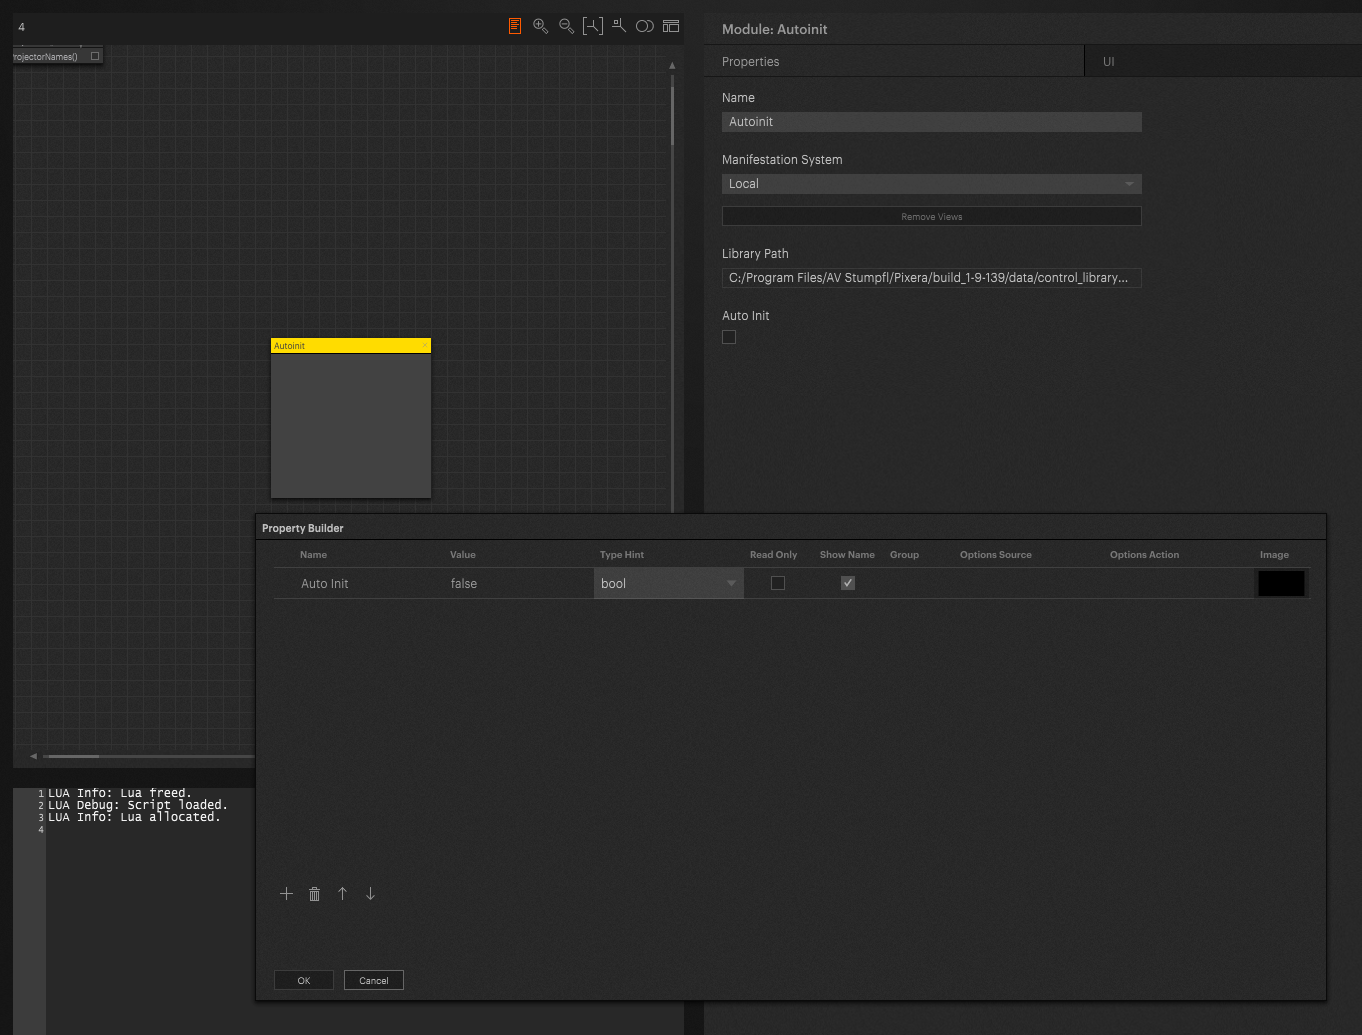
Property Builder
Read about how the property builder works.
Here we will set a delay number, this is to set the amount of delay until the “init” Action, made later, will be called. For now the default "Value" is set to 30 and the “Type Hint” set to “number”.
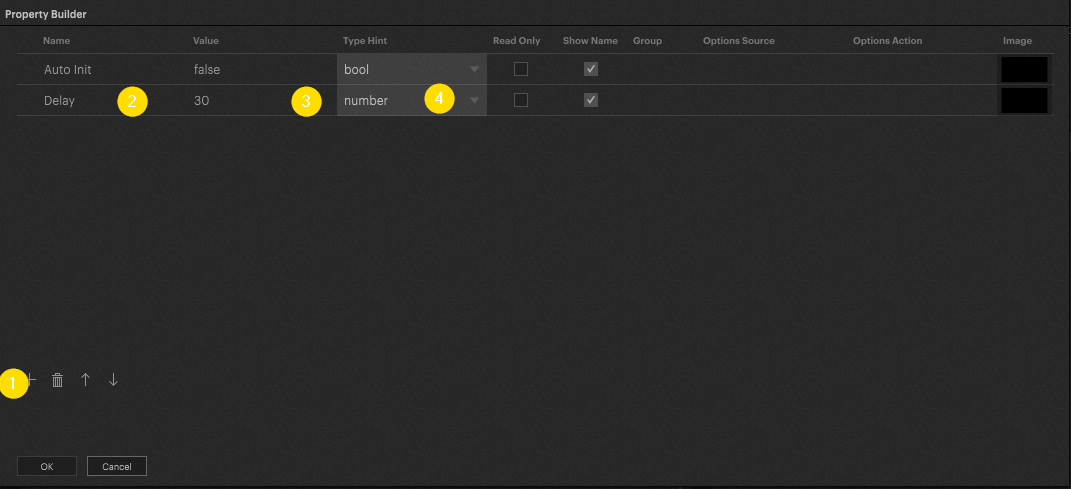
This is the only Module specific property we will create, all the others are just information for the user.
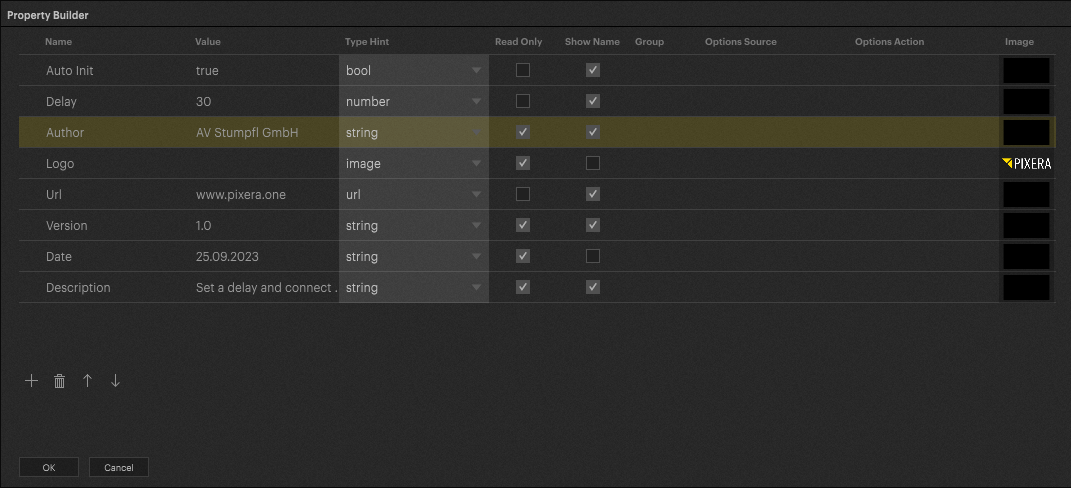
A PNG with the Pixera logo and alpha in the background has been added to the “Logo” property.
Adding Actions
Now we add an Action and name it “init”. This name has a special use, if a property named "Auto Init" set as a bool is in the Module and checked on, then it will call the “init()” Action automatically. In this current state, “init()” will be called already after startup or after the LUA core is allocated, learn more about the LUA core here: Control LUA Core.
LUA Coding
Now we enter the code to the Action itself.
In our case, we want the delay to be used and then an Action to be executed in the node system.
First we need to import the “pixc.helper” library to read the values set on each property we need.
if self.helper == nil then
	require "pixcHelper"
	self.helper = createPixcHelper(pixc,self())
end
Afterward, we can get our value like this:
local delayTime = self.helper:getProperty("Delay")Tip
alternatively, all properties can also be loaded directly, this is particularly recommended if there are many properties as this is more performant than loading them all individually:
self.props = self.helper:loadAllProperties()
We can then use these values in the code, allowing quicker changes to the Module's functionality.
Here we use the internal sleep function with the “delayTime” value as to delay the following code from being ran. Specifically the sleep function does not disrupt execution of other Modules while sleeping, making it more performant than a for loop using up time for example.
Utils.Timer.sleep(delayTime * 1000.0)
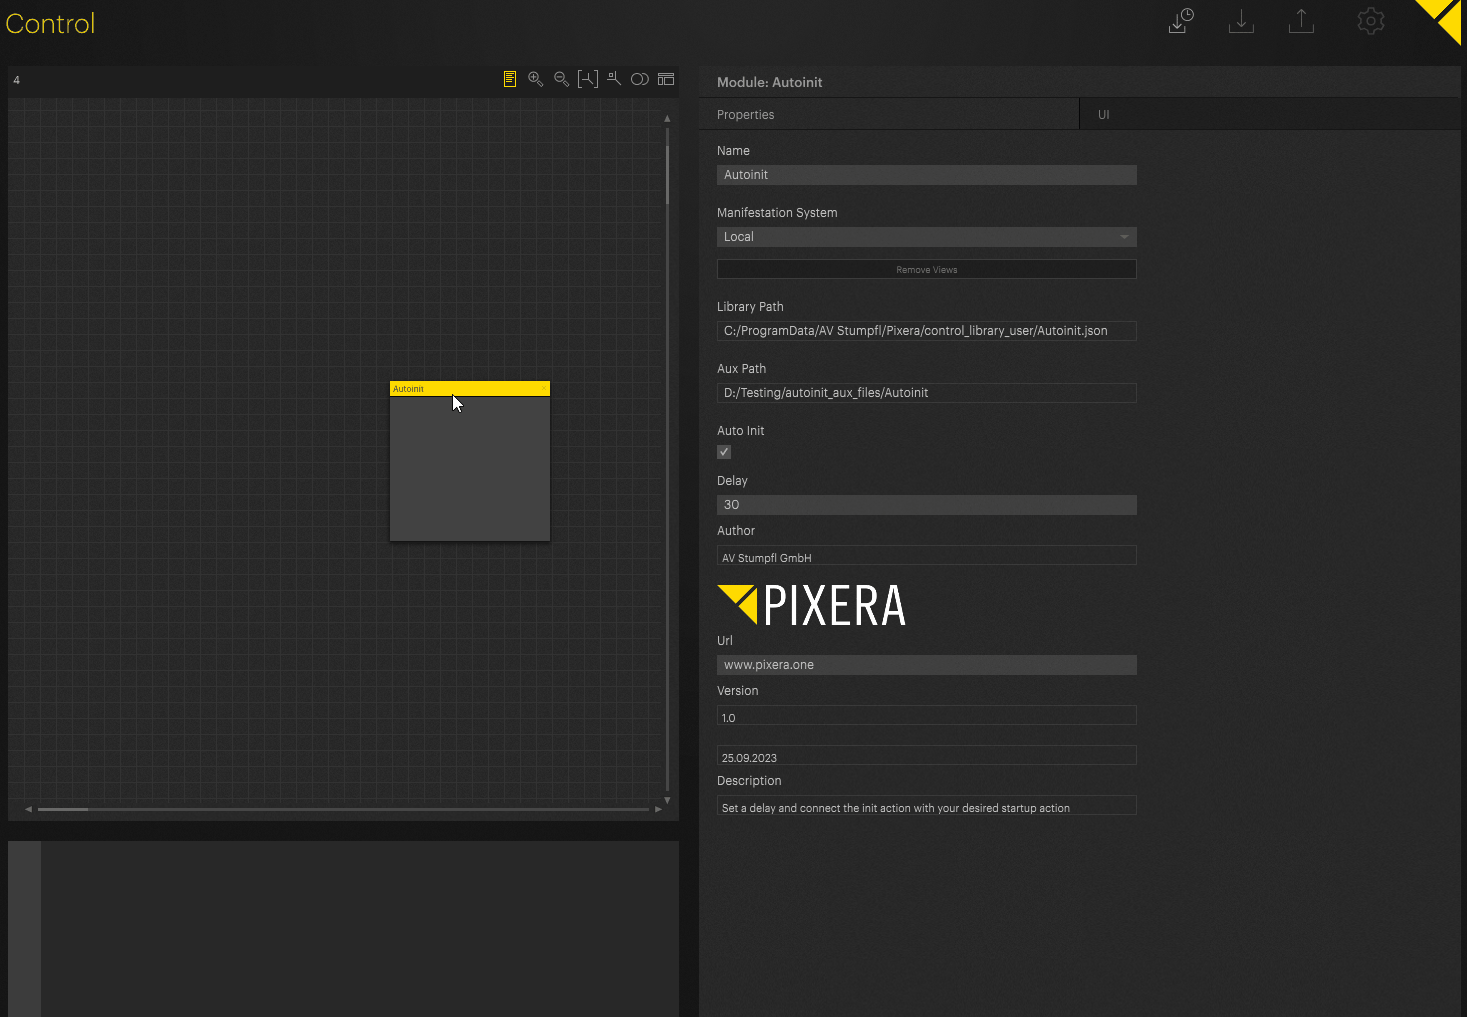
Now the Module looks like this:

Export
Warning
You need at least a Control Core license for export.
Read more
Now that it contains everything necessary, it is ready for export:
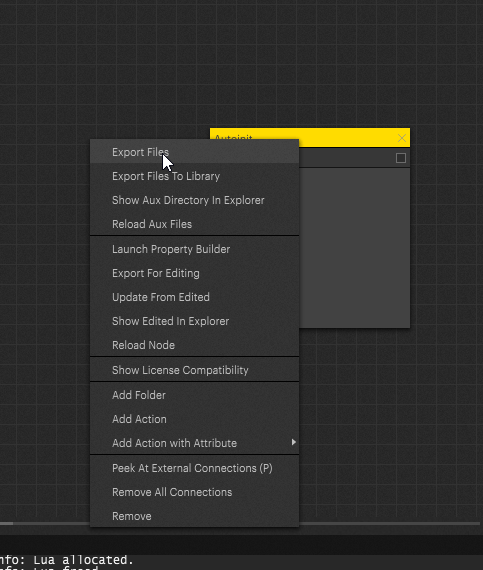
This export creates a .json file that can be imported back into Pixera Control.
Pixera 2.0.65 | 18. June 2024 | J.B.